
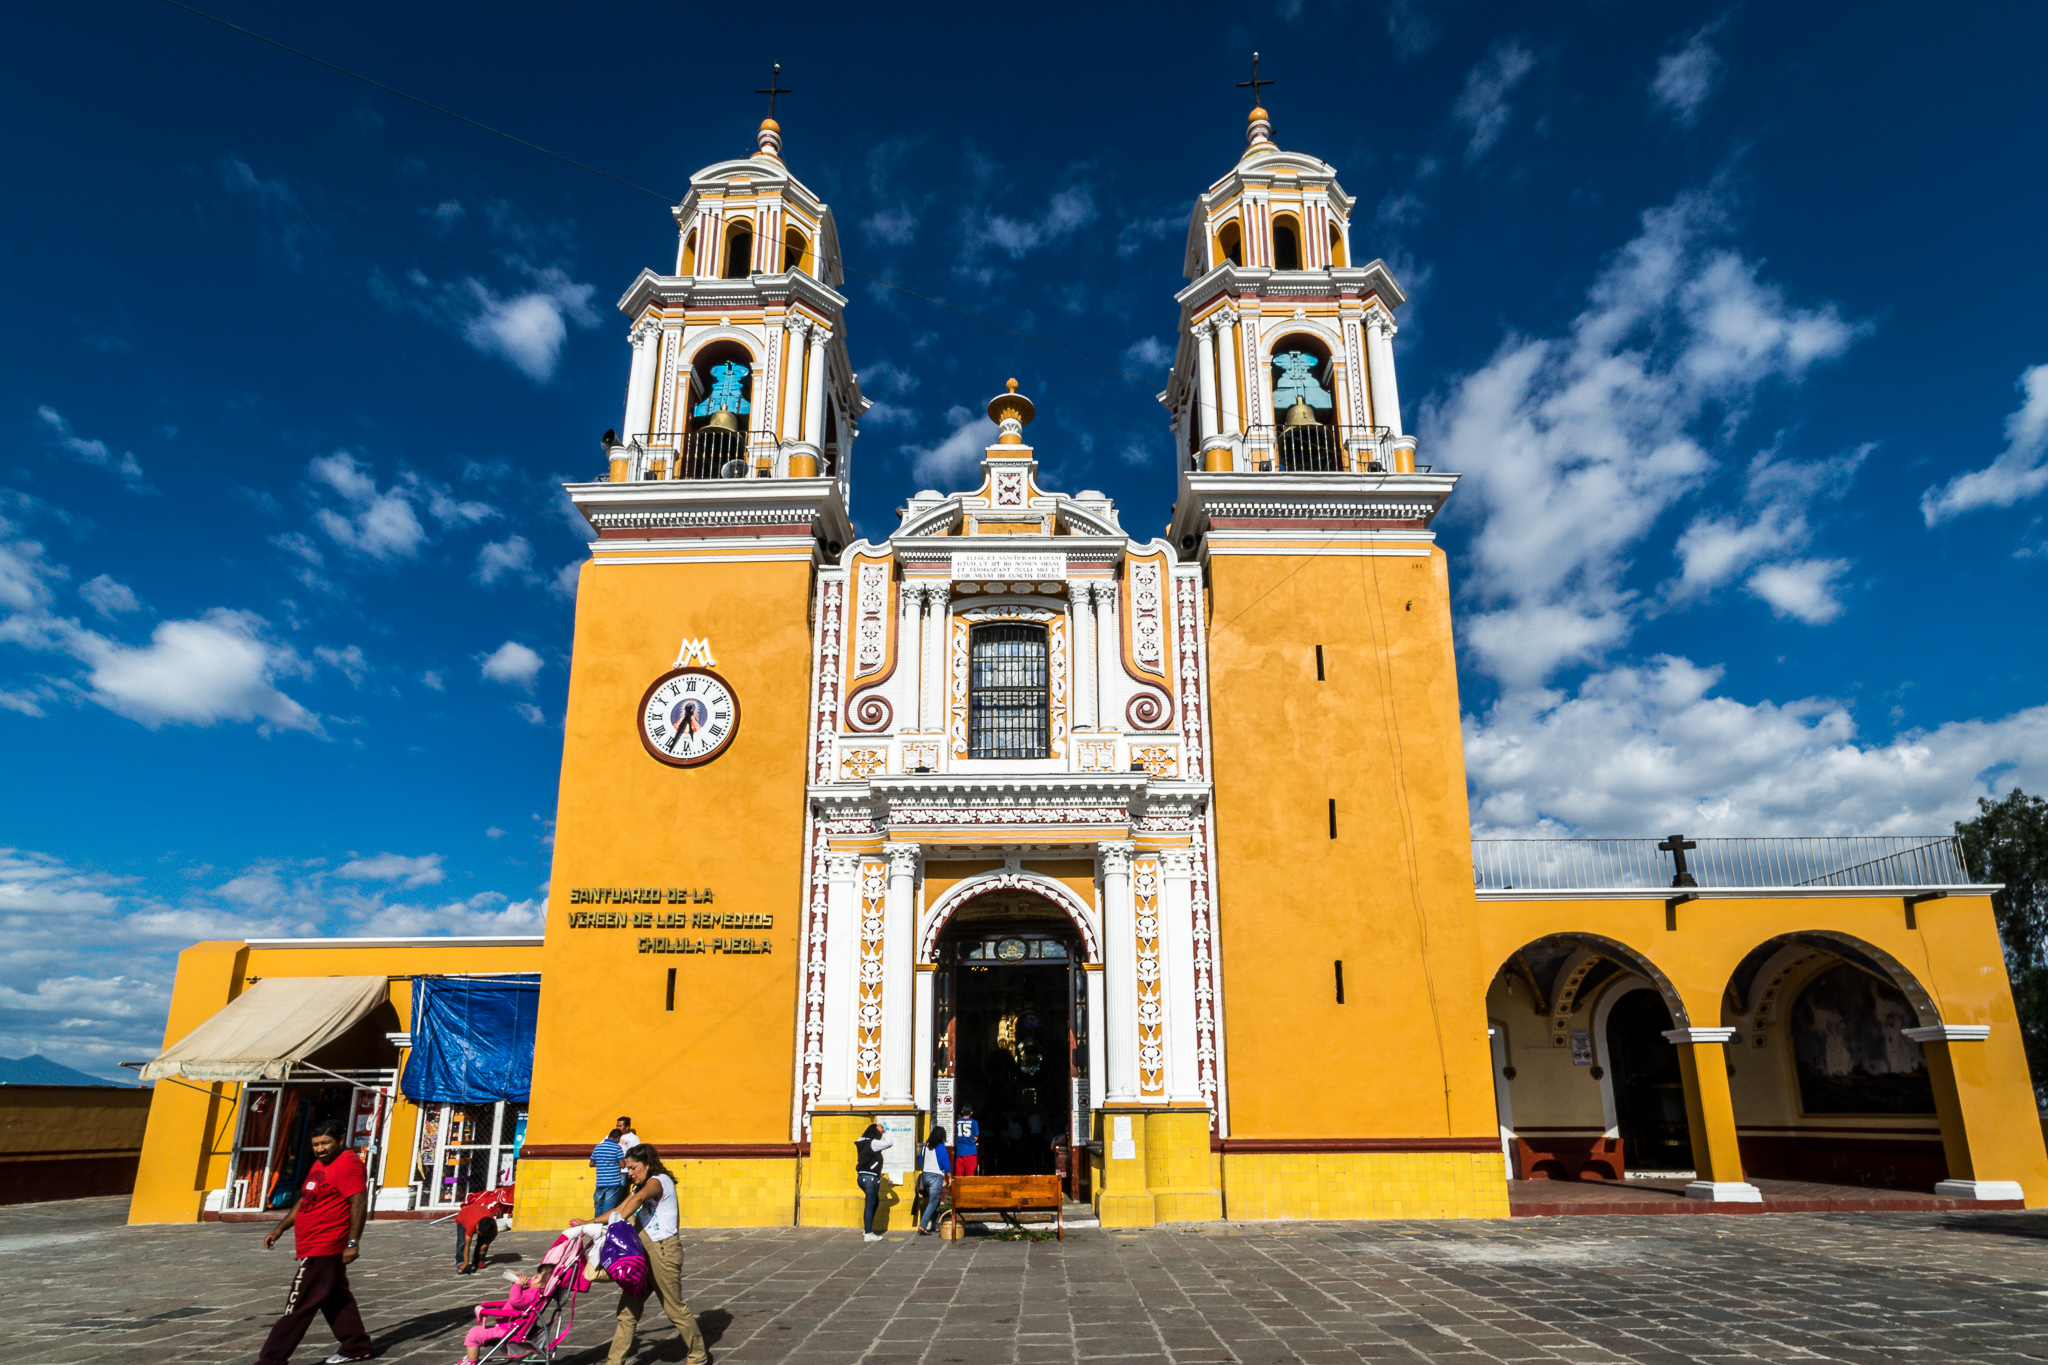
shooting dancers using wide angle lenses can be very rewarding
Read MoreFirst trials with night sky photography
Hey there,
Hard to be back at work after a long 4th of July week, that's the least to say.
But the cool thing is hat this prolonged week end gave me time to go camping in Los Padres National Park with friends for a few days. The great thing about this park is that the light pollution is very minimal there, so i got to see some pretty cool stars.
Here are my first tests in night sky photography. (click on them to see them bigger)


I did a bit of lightpaintig with an LED torch for the foreground, one thing i need to be better at is finding the milky way, but it's a start!
Enjoy your week
Jeremy
The other way to remove tourists from your shots
Hey guys,
As promised here is the other way (actually one other way there are others) to removed undesired tourists from your vacation shots.
For that you are going to have to use a bit of photoshop.
I am not going to go to much into the details as you can learn more about it here (the video is very interesting but if you want to see just the part about tourist removal you can jump to 49 min)
But the idea is to take a series of shot without moving, waiting for tourists to move like this

Then open the photos as layers in photoshop (meaning they are on top of each other), auto align them and then mask away the tourists using the clean portions of each layer.
In the end you get something like this:

The secret to this is simple, the more you wait the easier your job will be.
So next time you are on vacation somewhere, be patient and take multiple shots of places ! You'll end up with the perfect "tourist free" shot!
Jeremy
The 10$ softbox
Hey guys,
today I thought I was going to share a little DIY i made to prepare for the photoshoot with the Cabaret Versatile last week end.
I am going to try to teach you how to build a softbox for less than 10$.
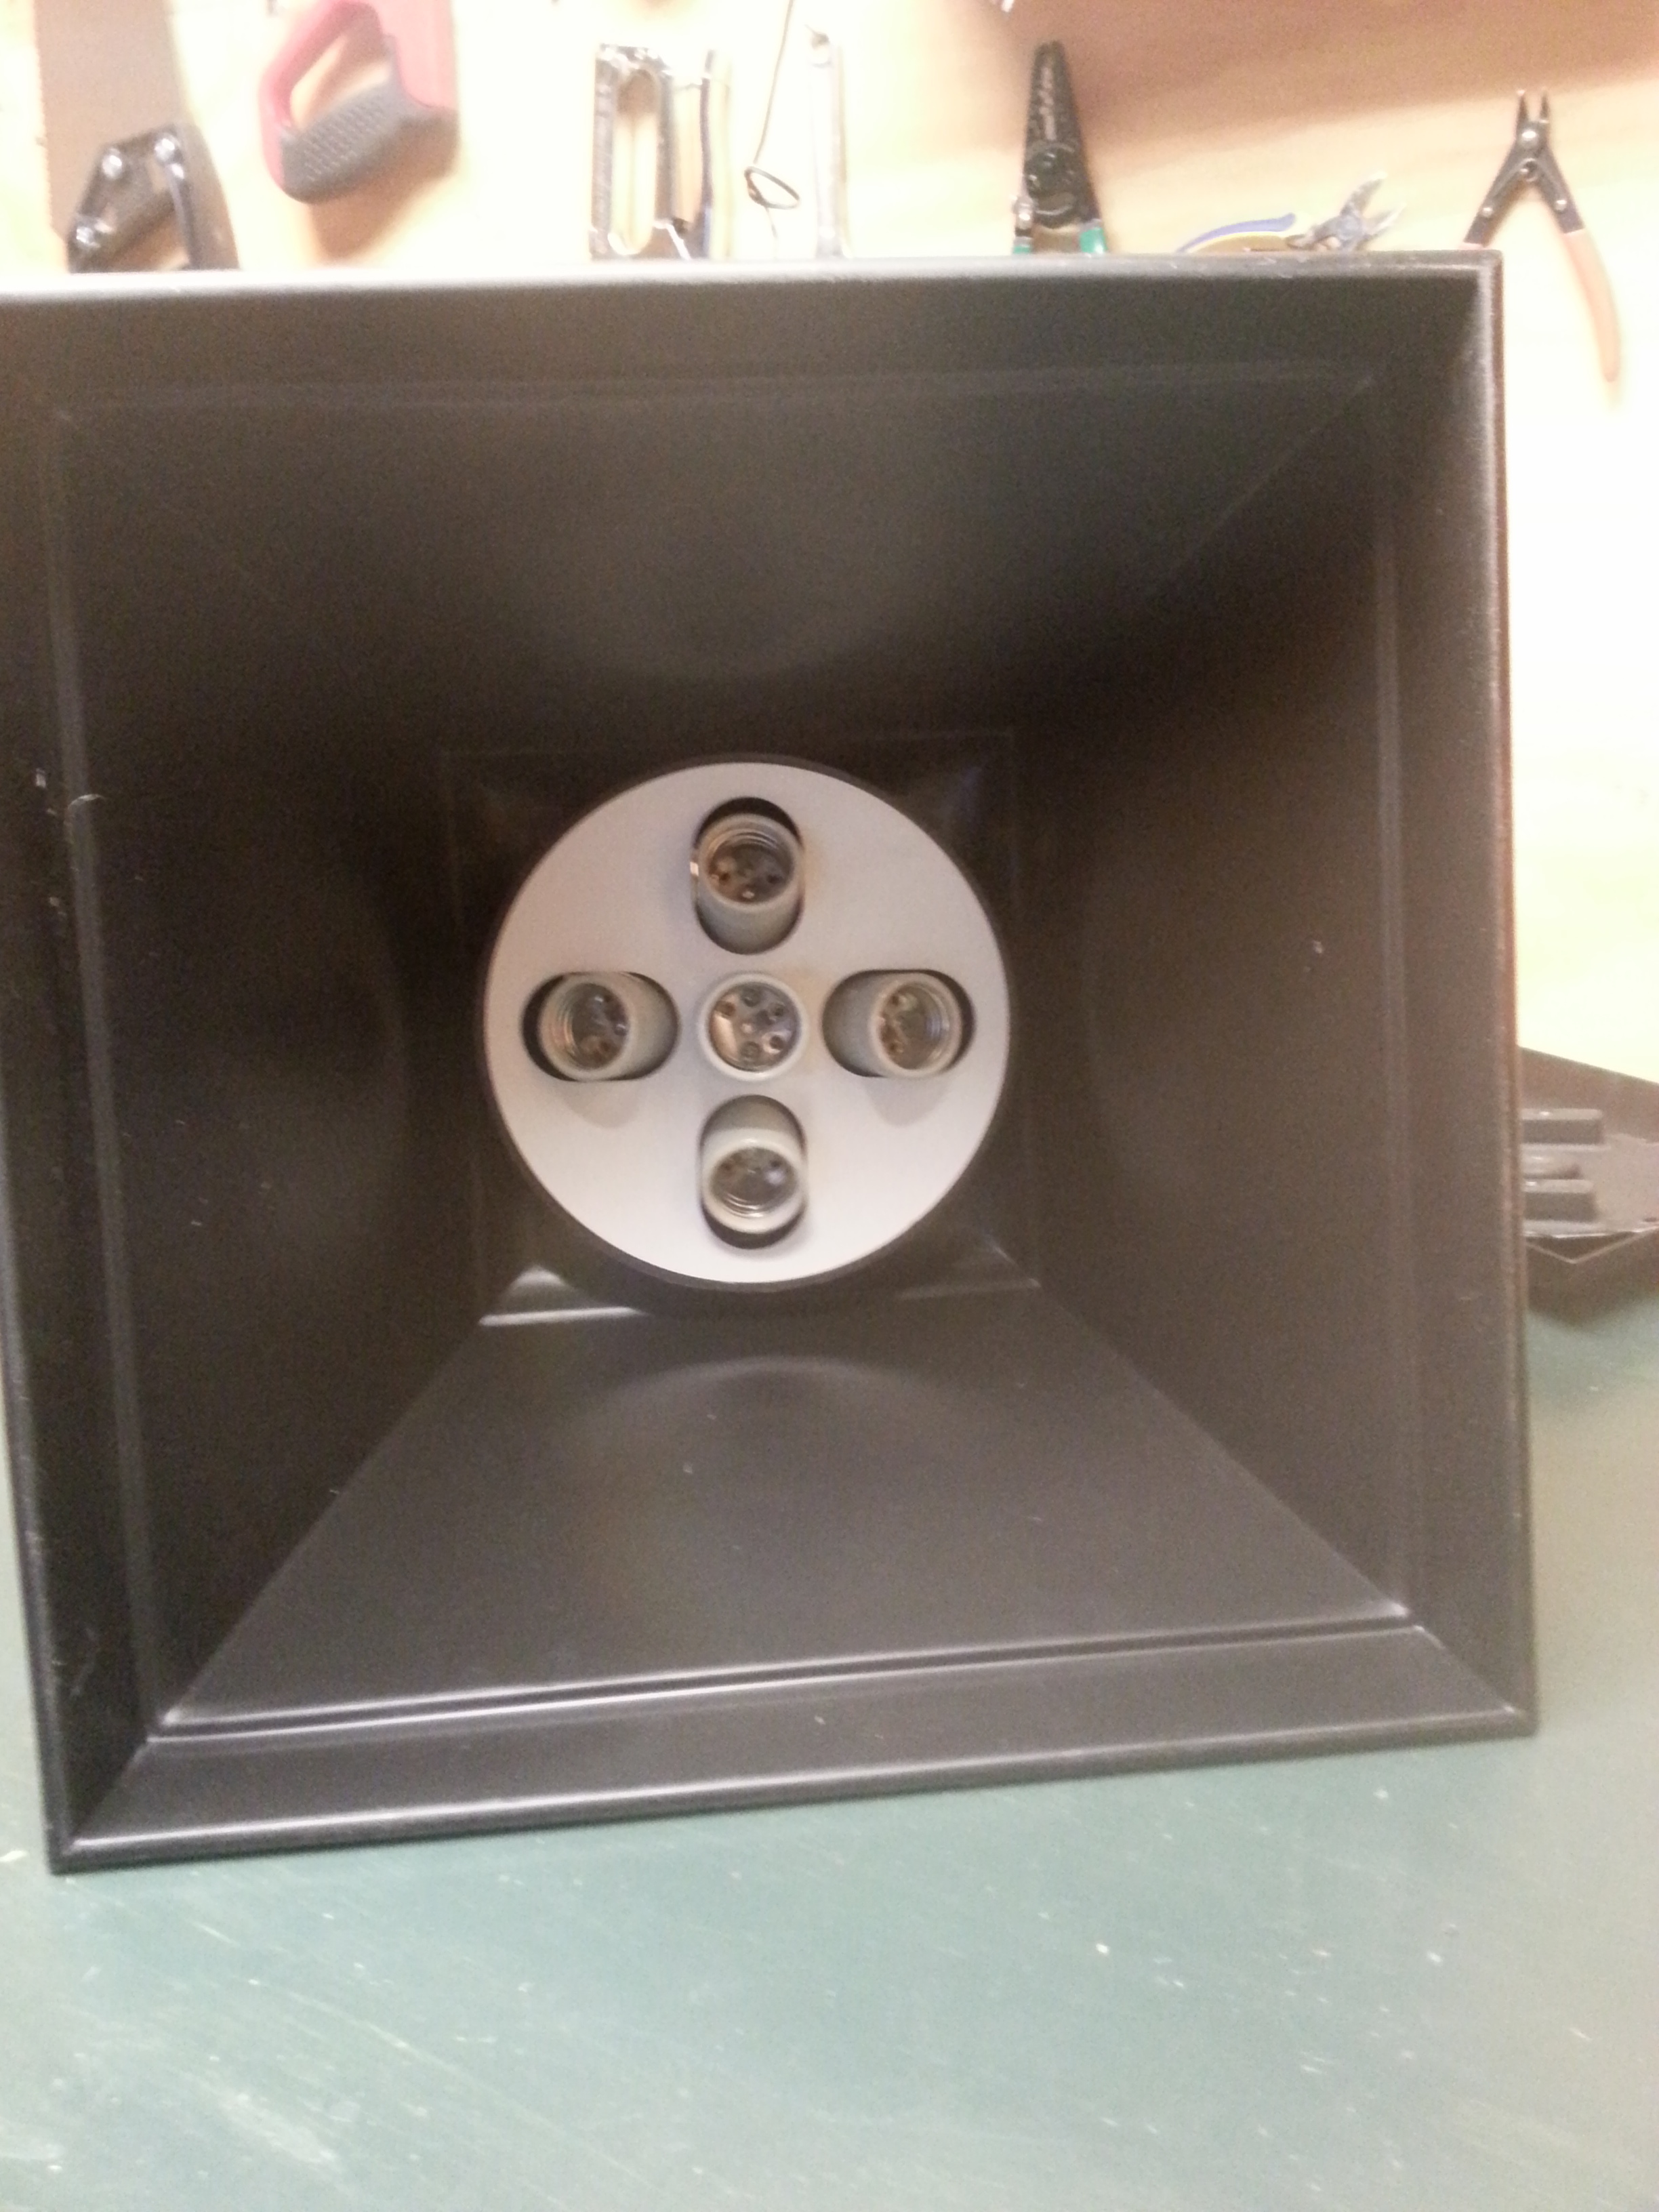
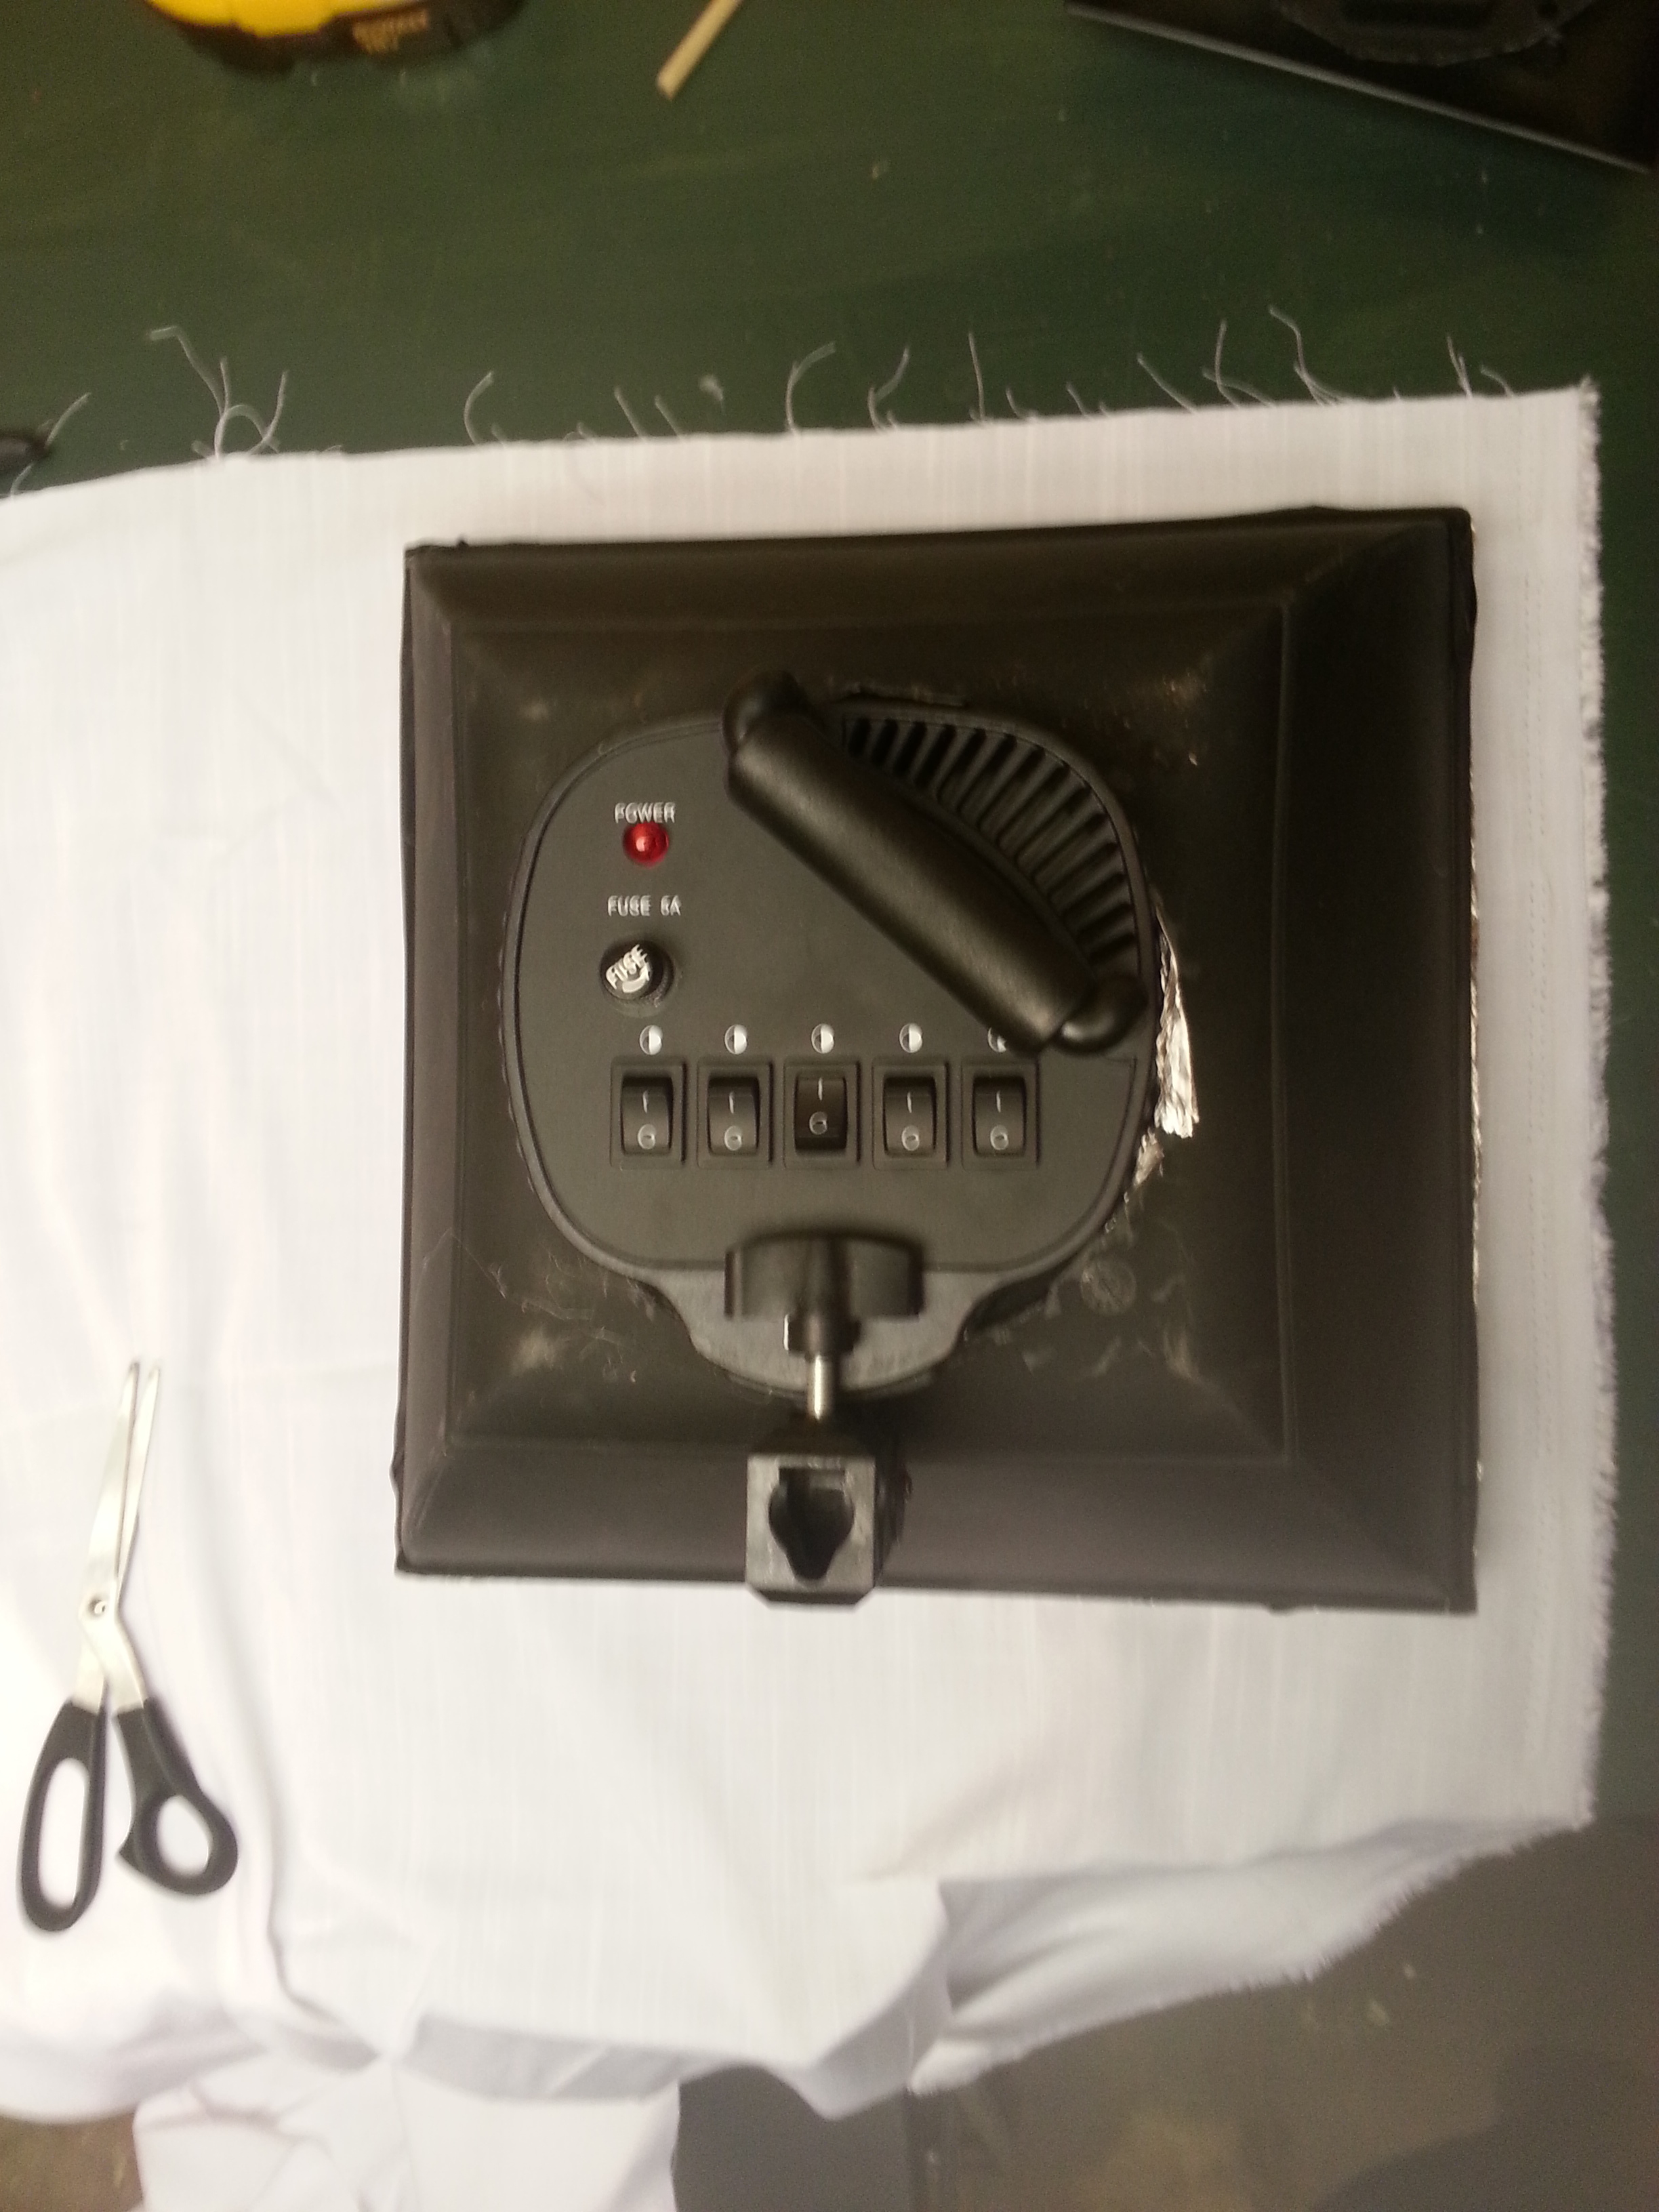
Hdere we go, first of all I early had the lamp socket. I bought 2 used softboxes from a friend a while back, and he gave me a spare head like this one. Only problem, I did not have any modifiers for it. So I decided to build my own. Because I already had 2 big softboxes I went for a small, more transportable one.

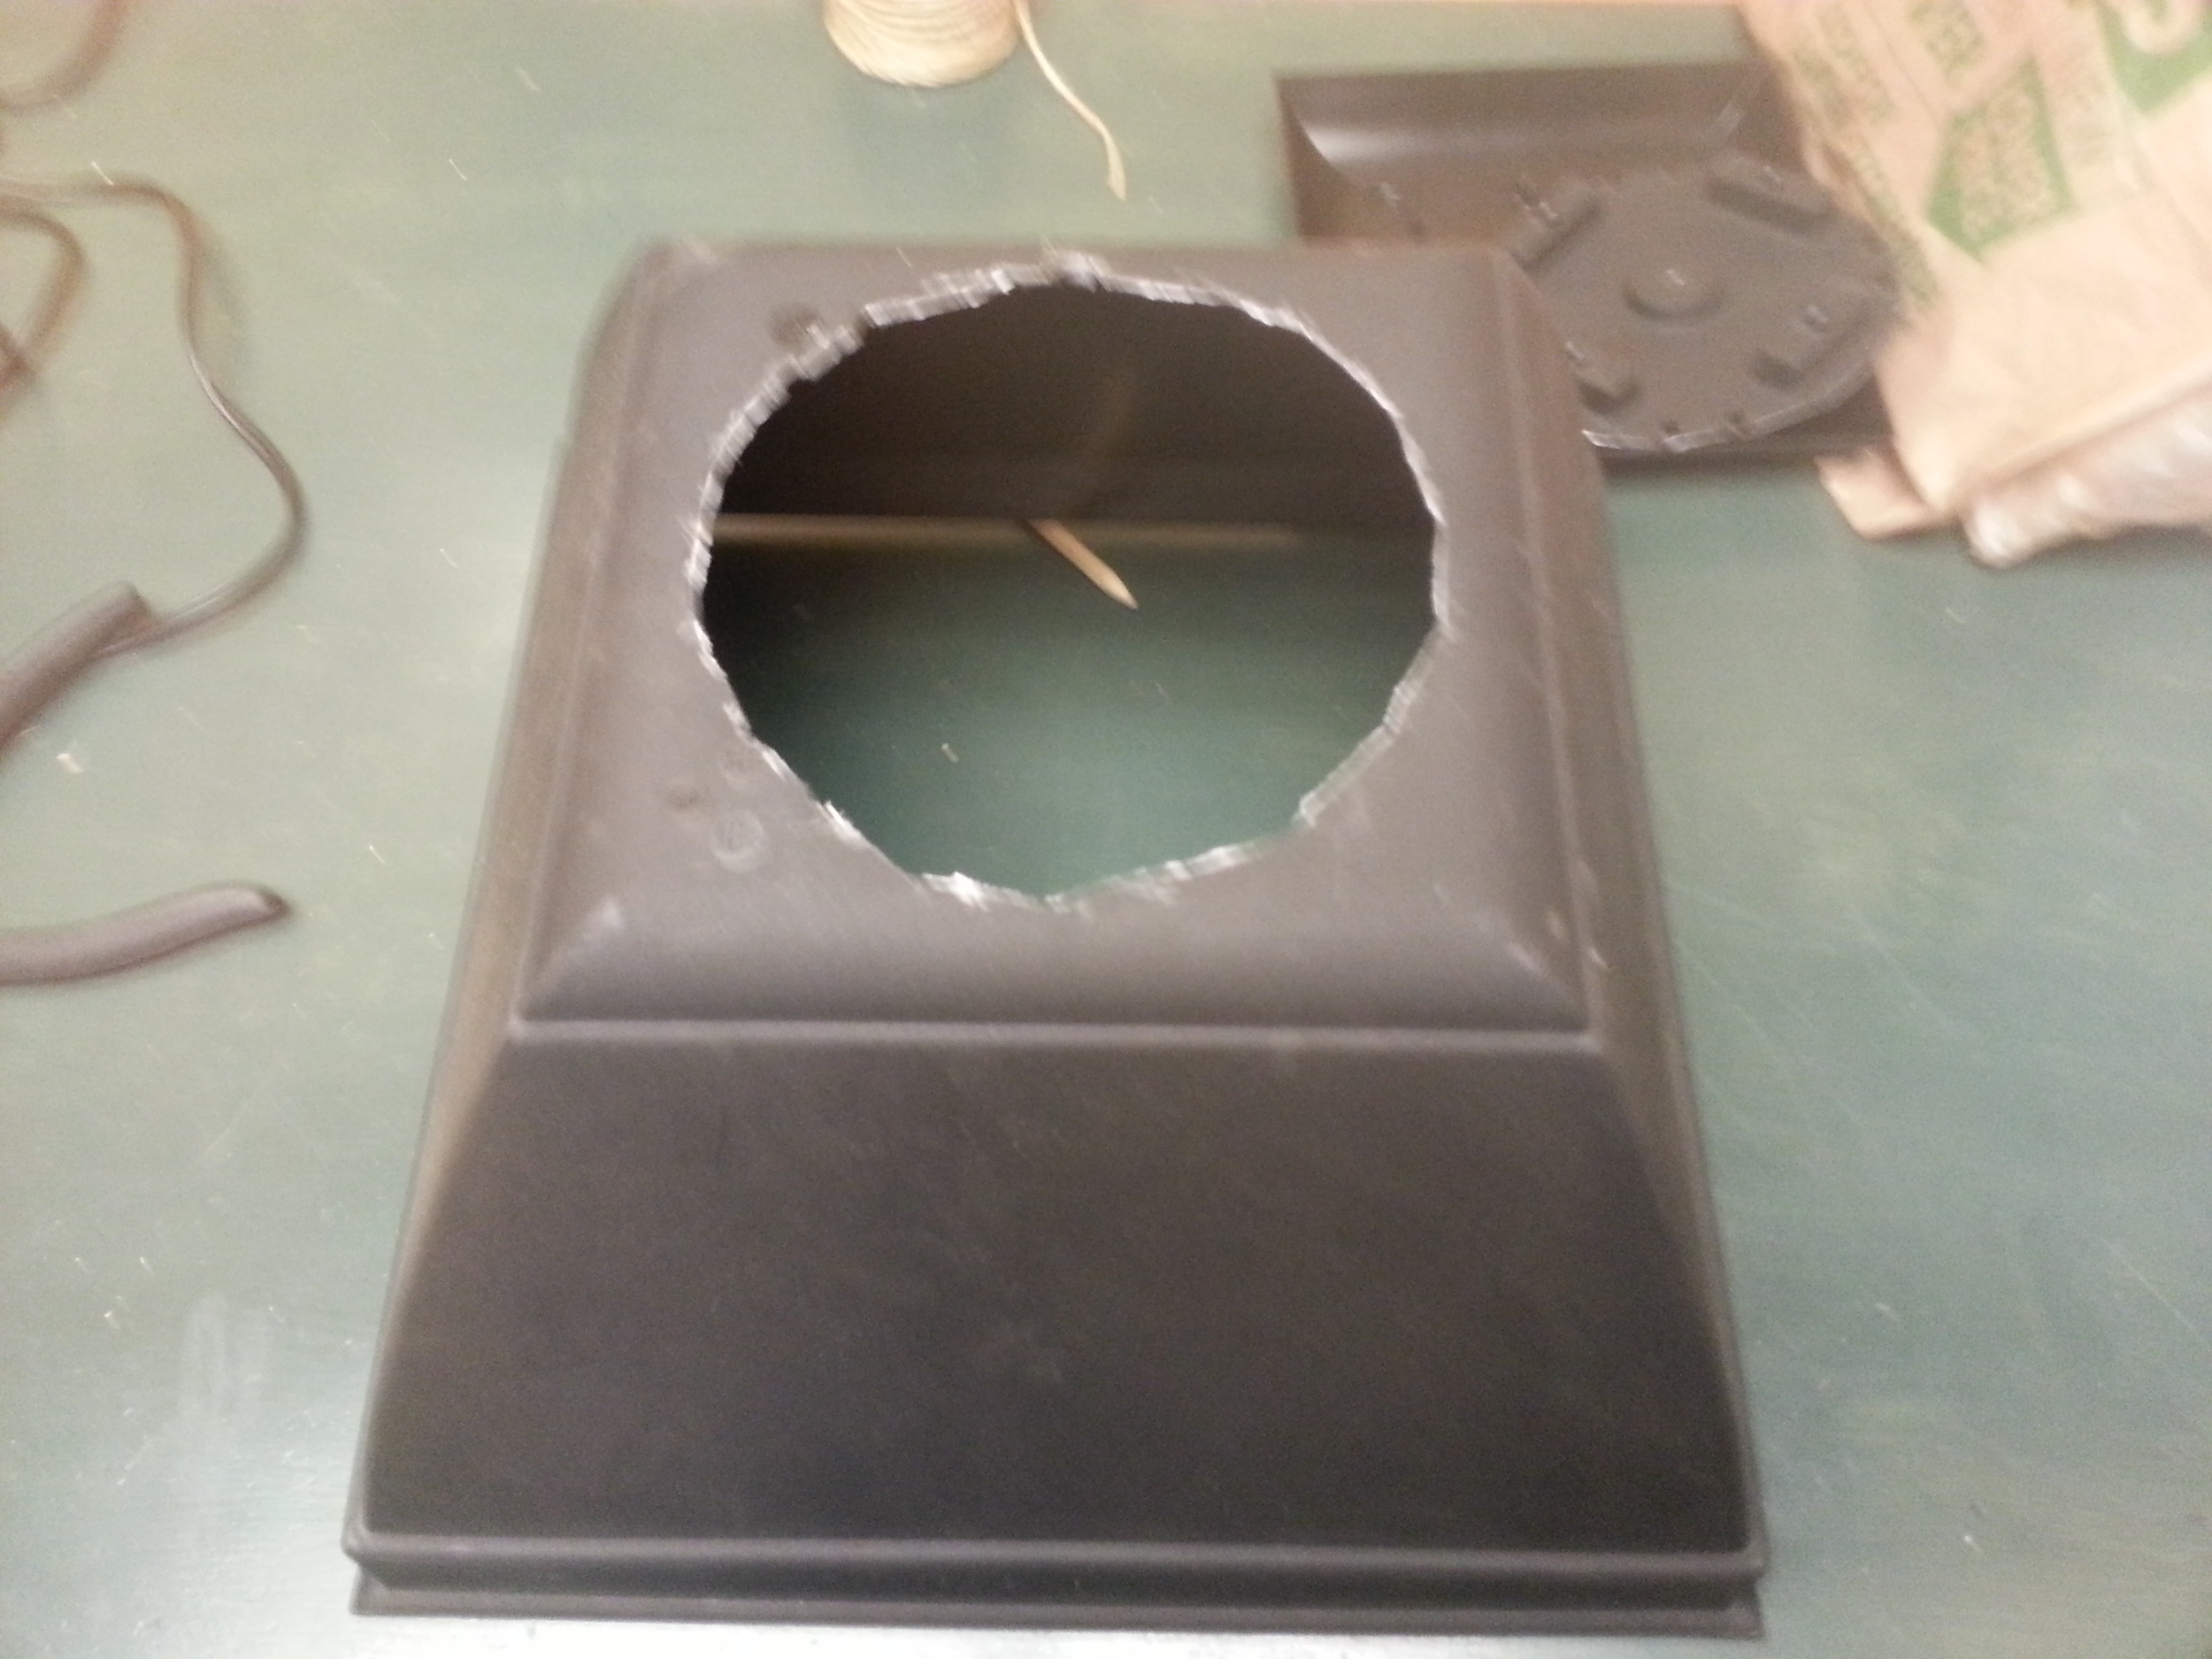
I went to home depot and found this really cool plant pot in the gardening section

I simply had to cut a hole in it to make the head fit inside, I use the light head to trace a circle of the same diameter at the back of the pot and cut it with cisors.
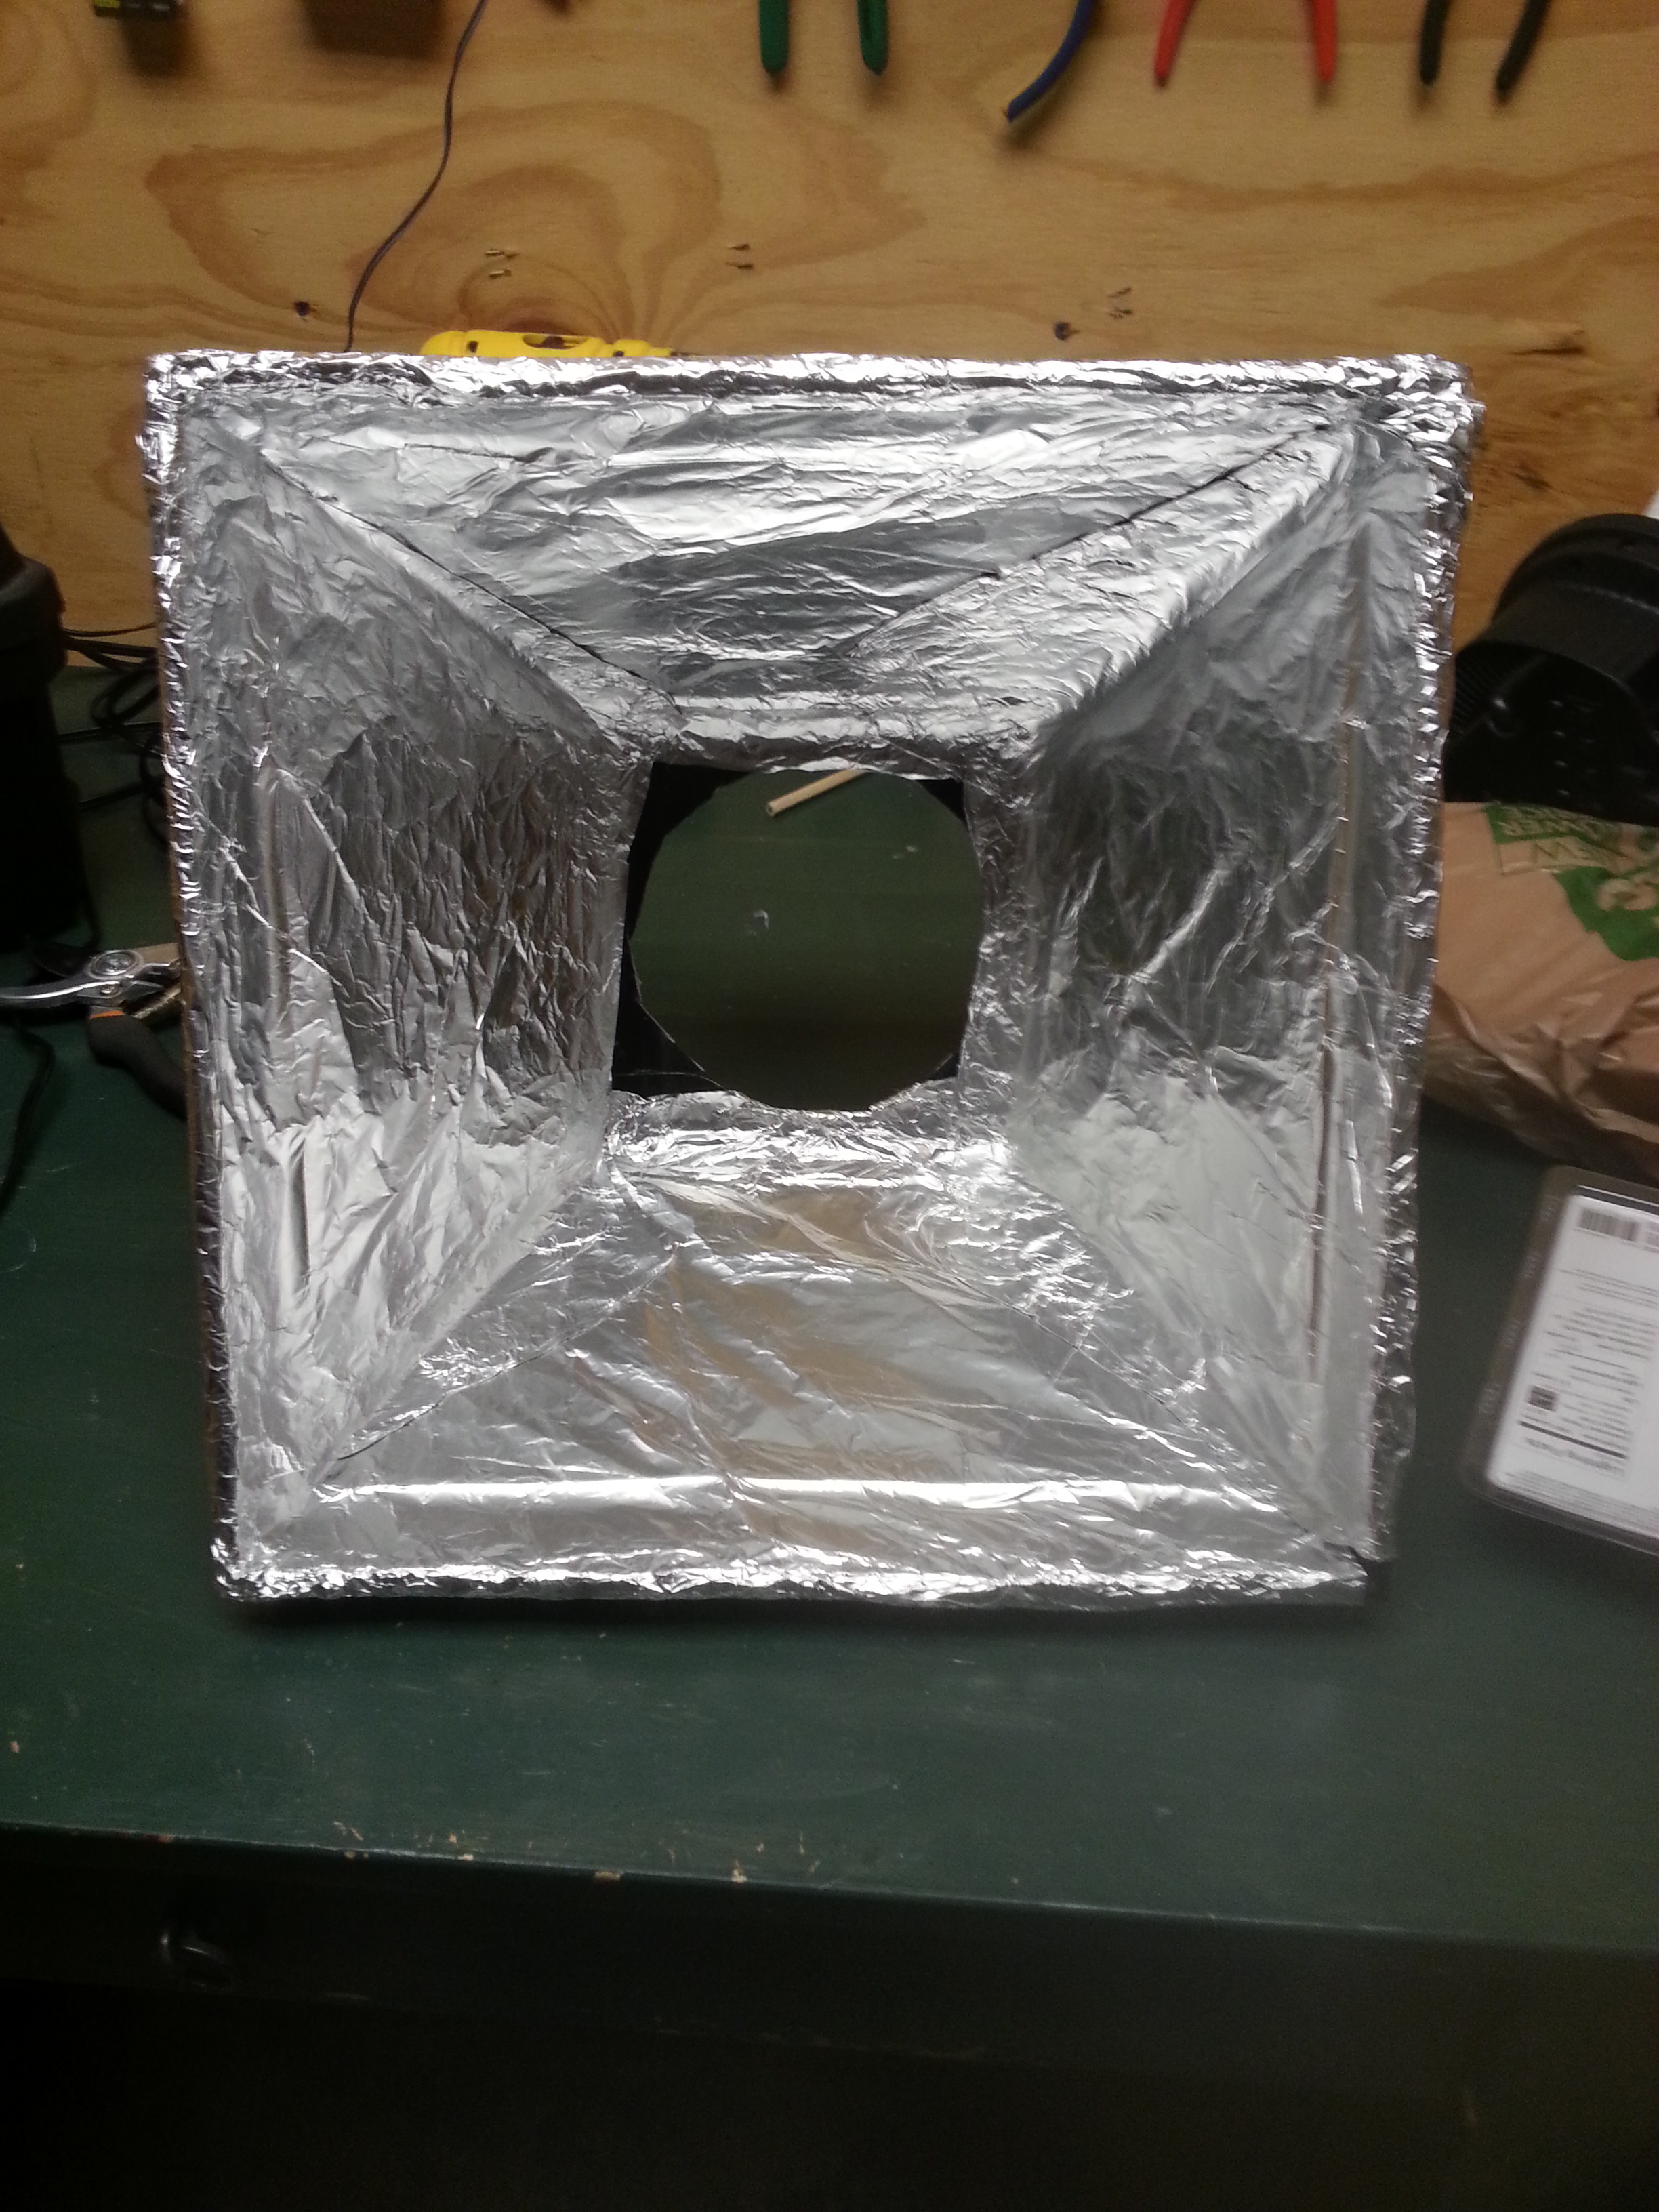
I then hot glued some aluminium fold on the inside of the pot (for reflection)

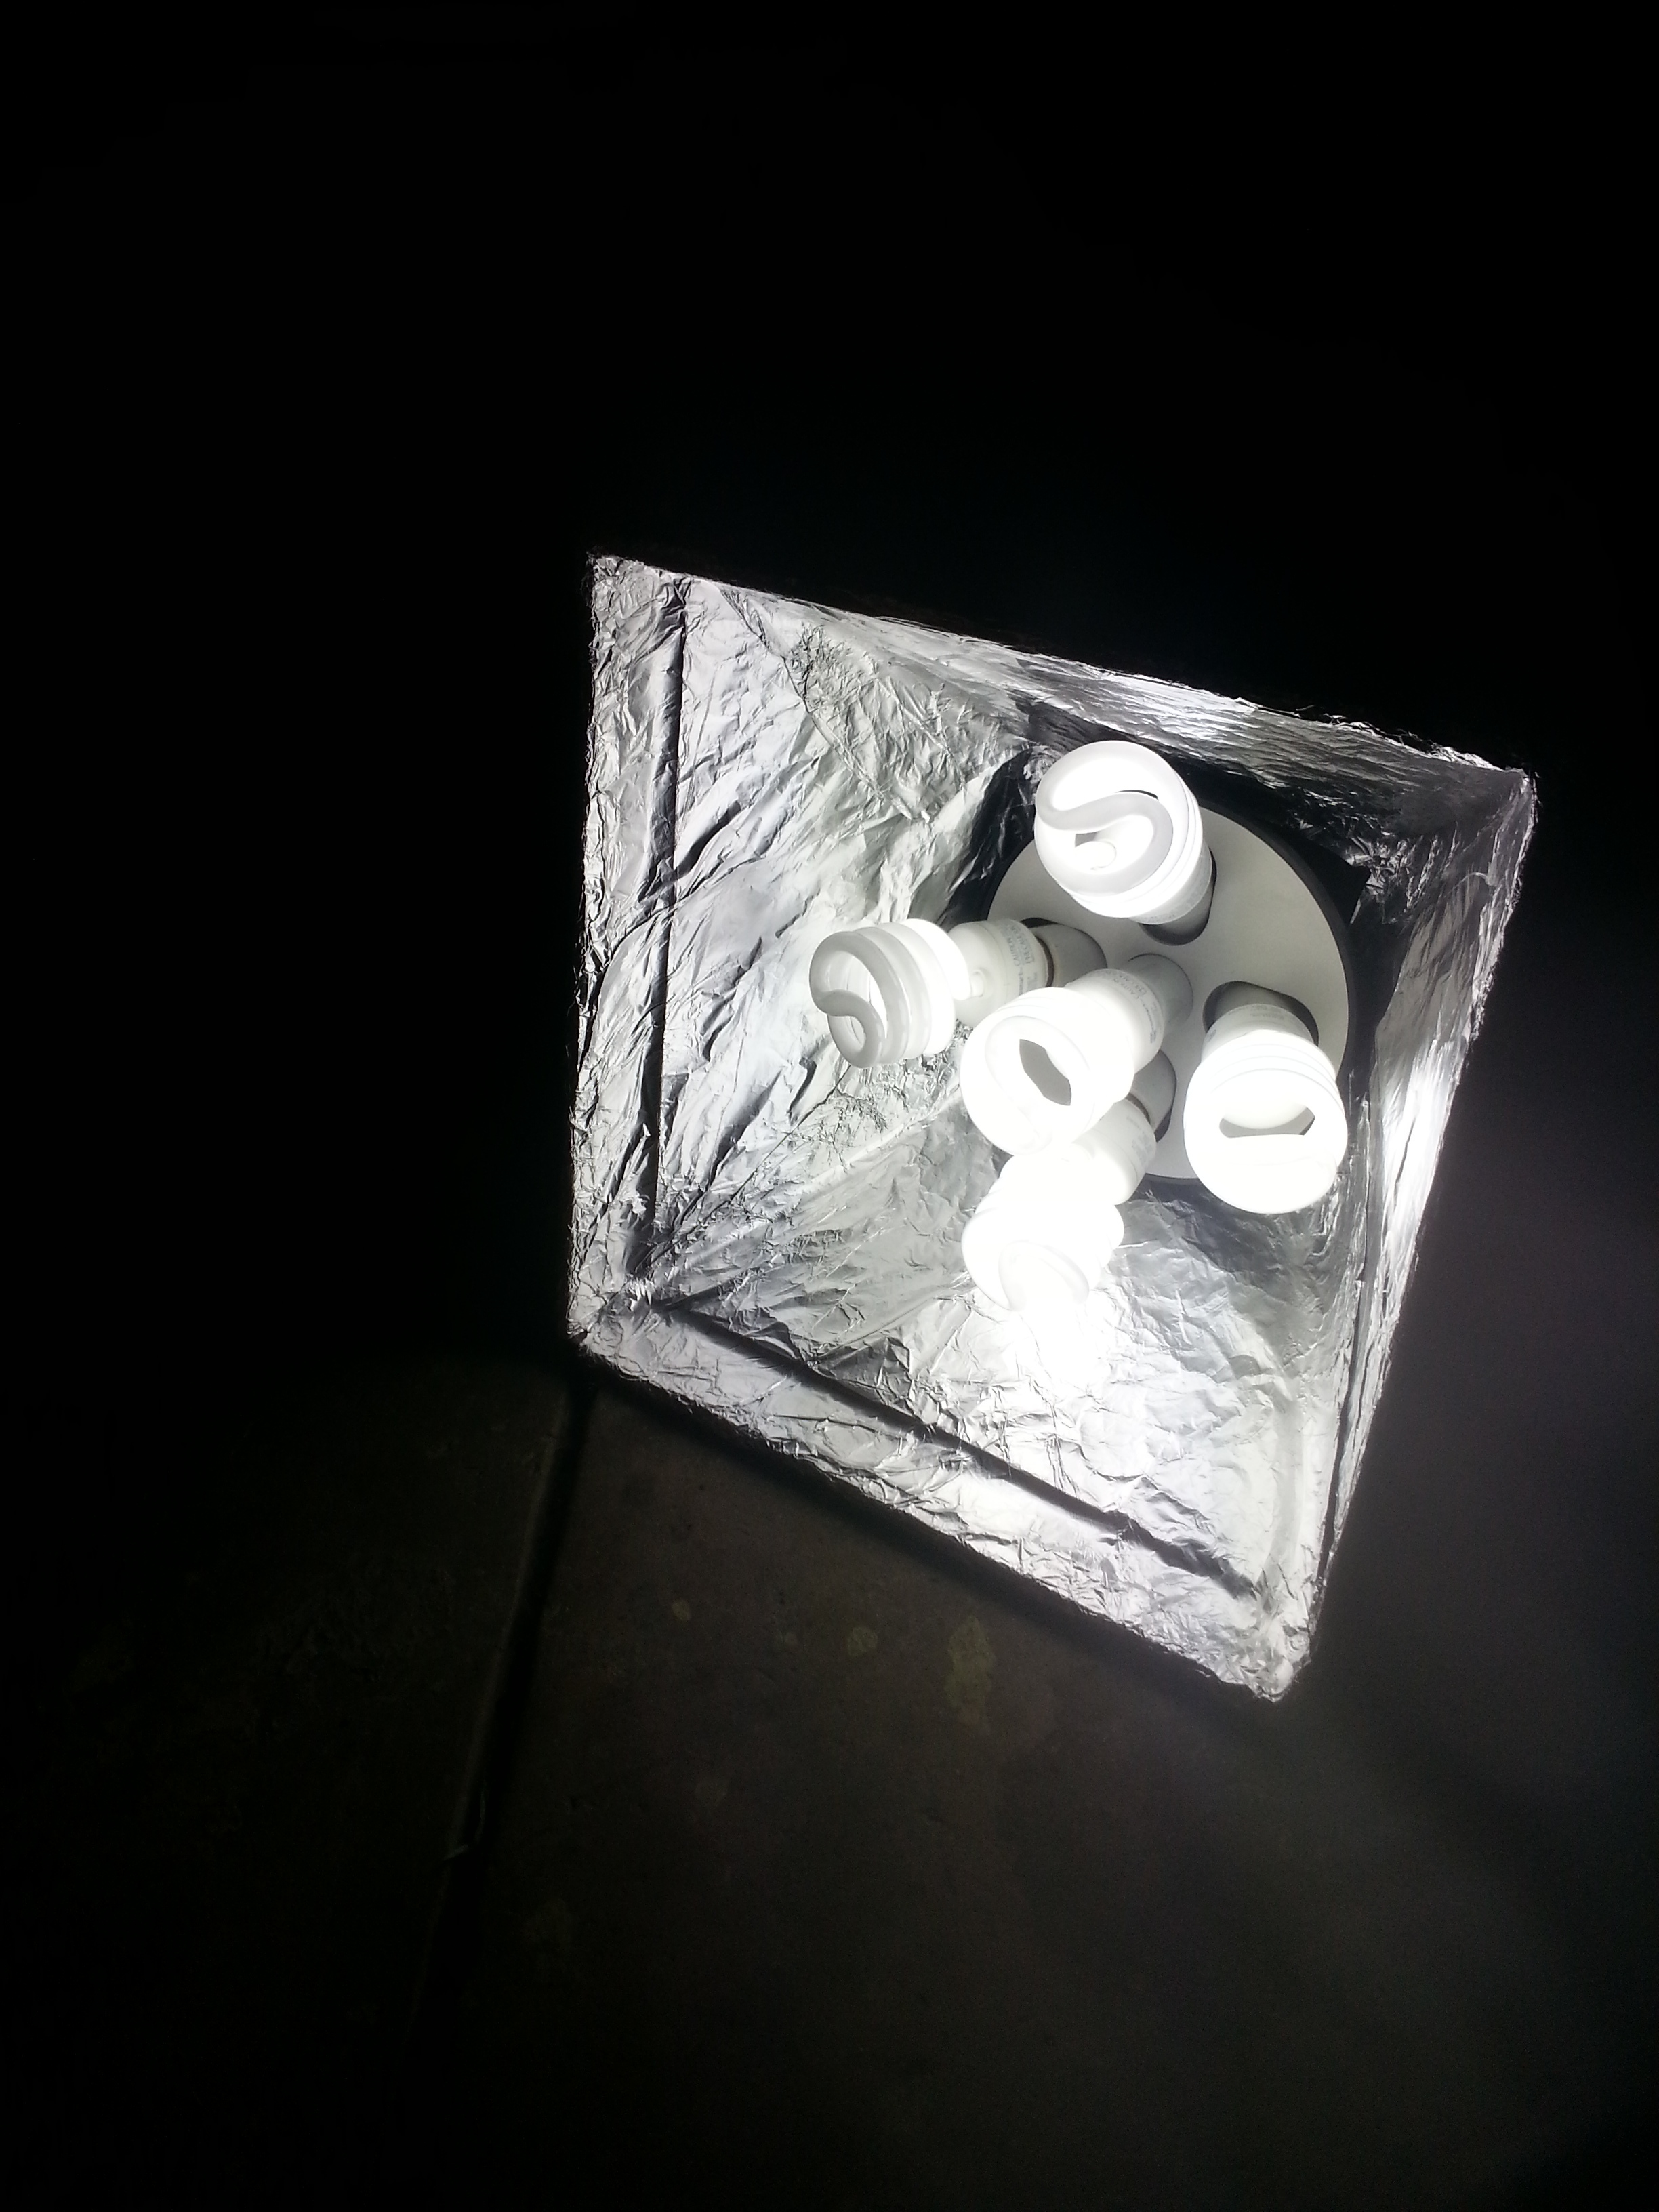
To finish it I used a piece of white fabric that i cut a bit larger than the size of the pot, I put Velcro on the fabric and the side of the pot. (hot glued and stapled on the pot and a sewed the other half on the fabric)


I use economical 5000K bulbs inside, it takes a bit of time to warm up but the results are pretty cool.

And there you go, the most expensive part of this tutorial was the pot that i found for $8 at home depot. I tested it on the field and the lights from it looks great. It is a very cool portable complement to my 2 other softboxes.
Hope you enjoyed!
Jeremy