The 10$ softbox

Hey guys,

today I thought I was going to share a little DIY i made to prepare for the photoshoot with the Cabaret Versatile last week end.

I am going to try to teach you how to build a softbox for less than 10$.

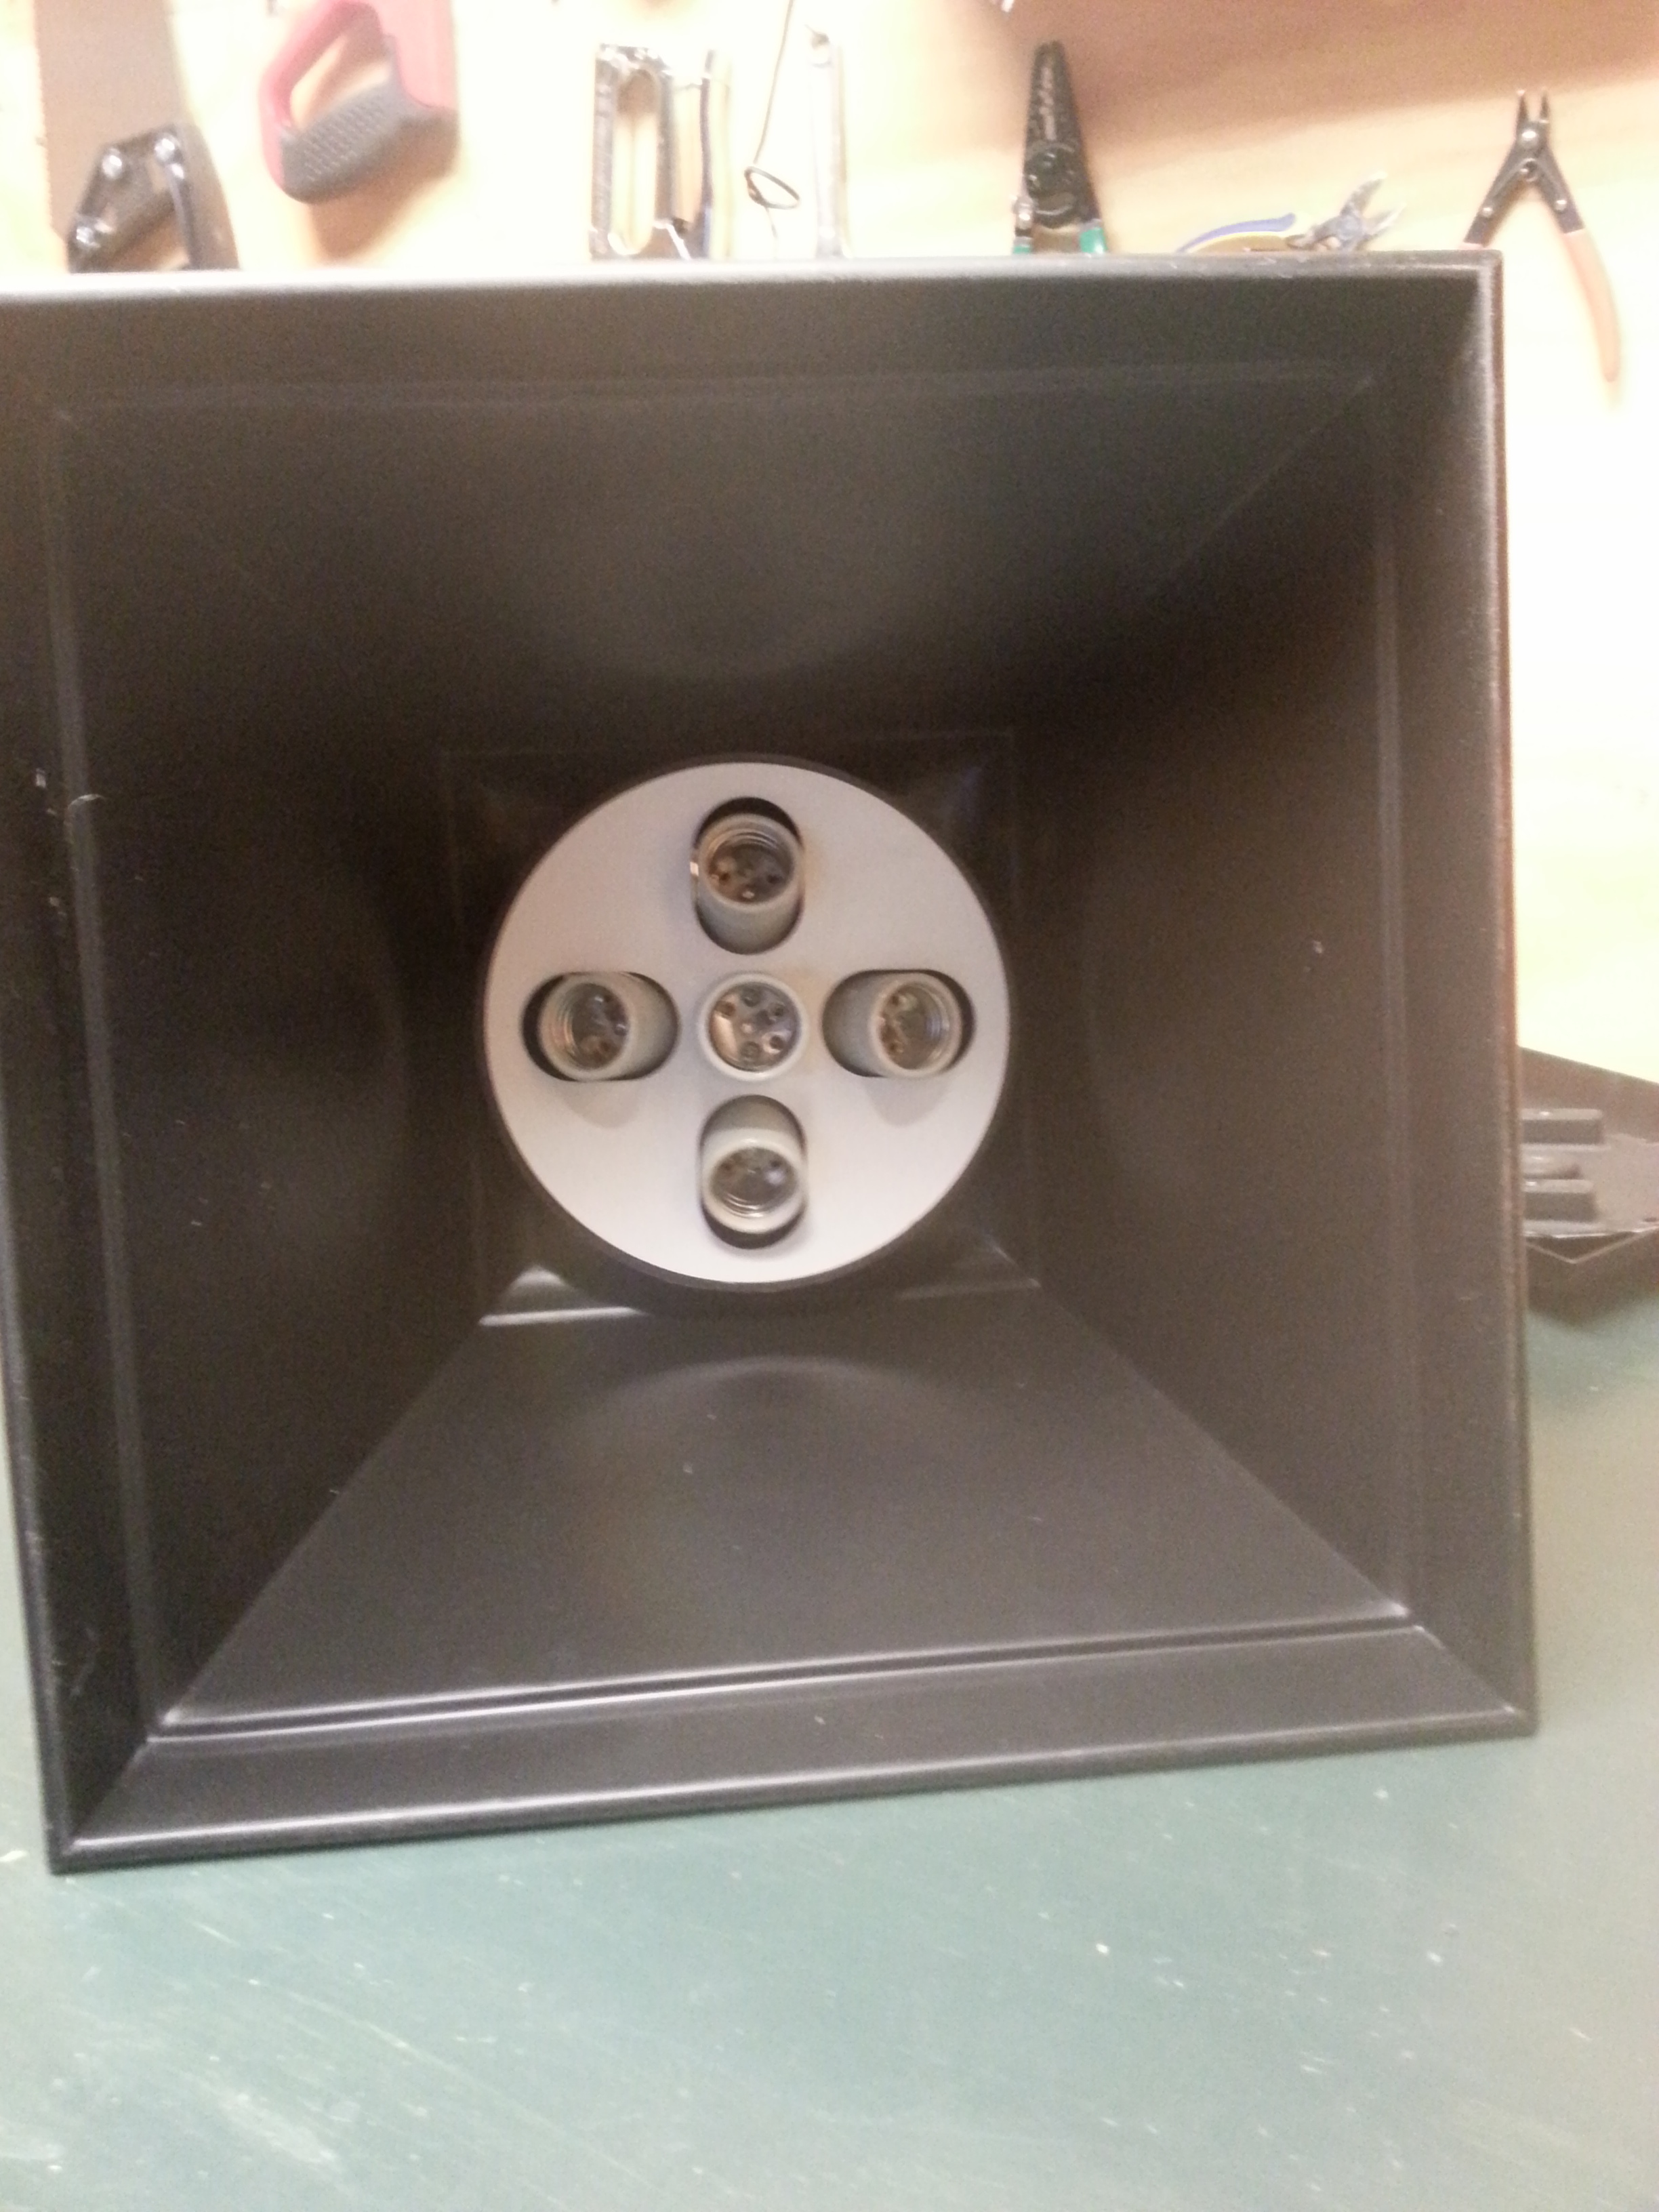
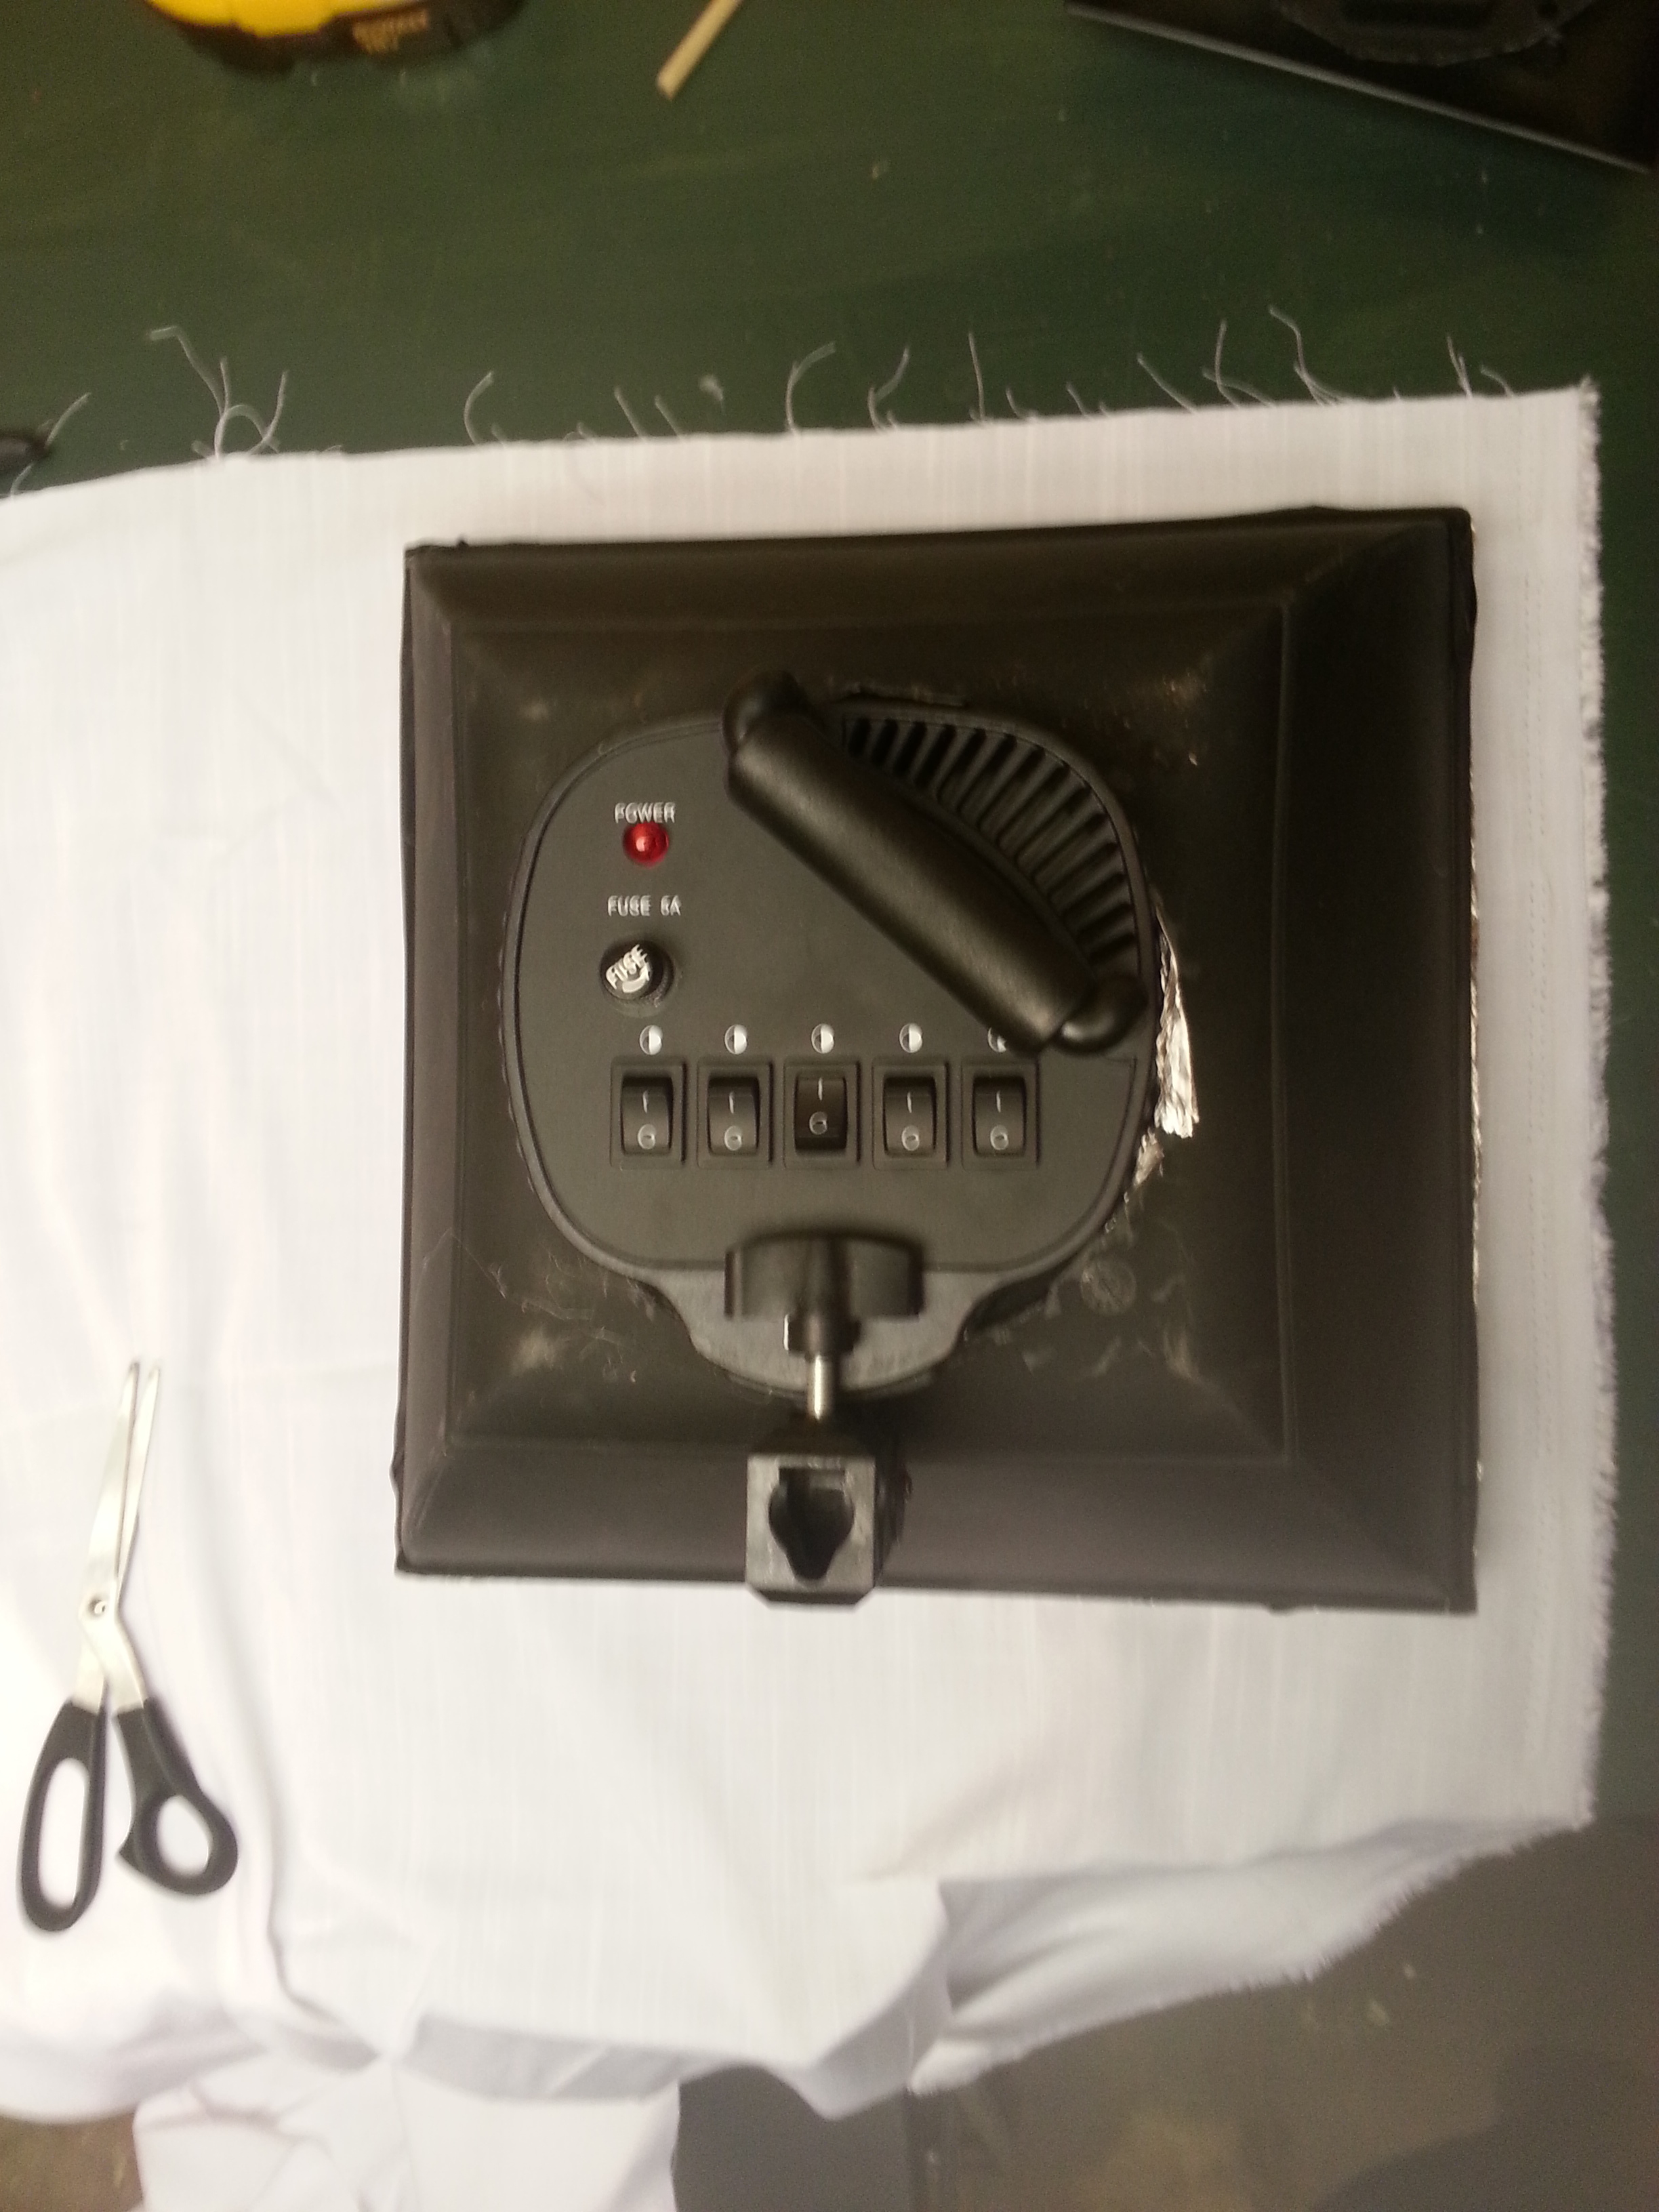
Hdere we go, first of all I early had the lamp socket. I bought 2 used softboxes from a friend a while back, and he gave me a spare head like this one. Only problem, I did not have any modifiers for it. So I decided to build my own. Because I already had 2 big softboxes I went for a small, more transportable one.

I had a spare head like this.

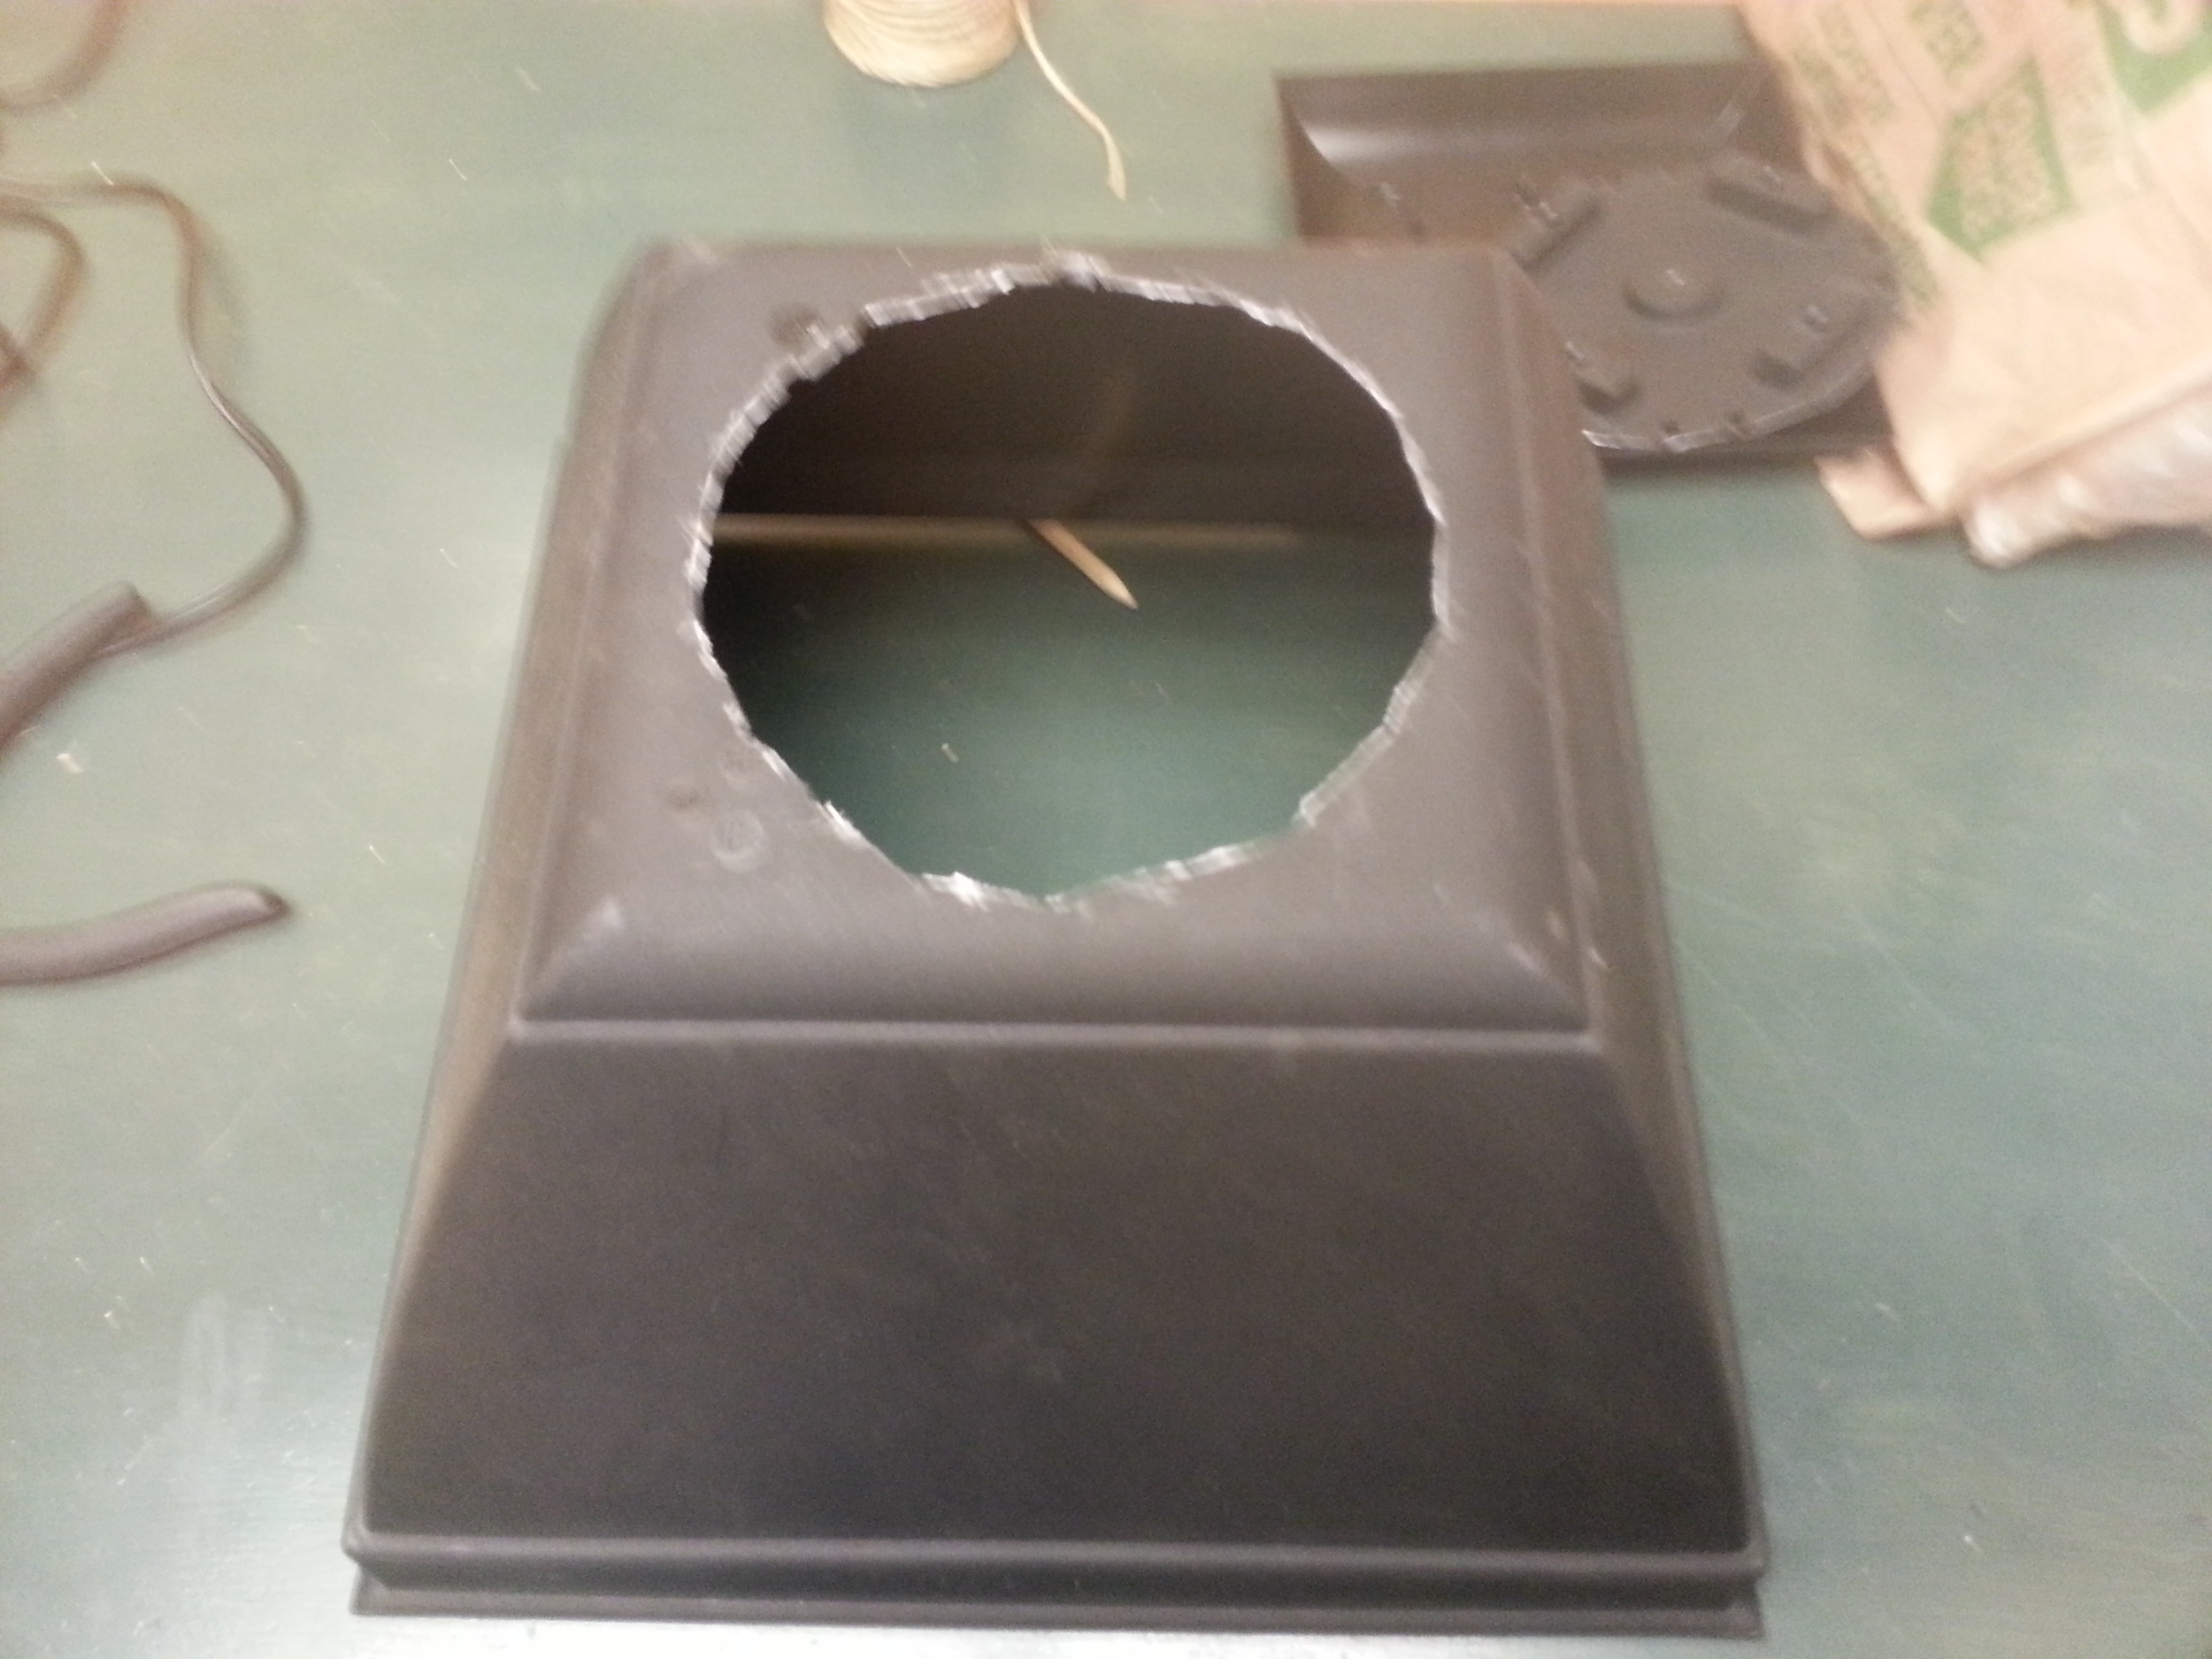
I went to home depot and found this really cool plant pot in the gardening section

I simply had to cut a hole in it to make the head fit inside, I use the light head to trace a circle of the same diameter at the back of the pot and cut it with cisors.


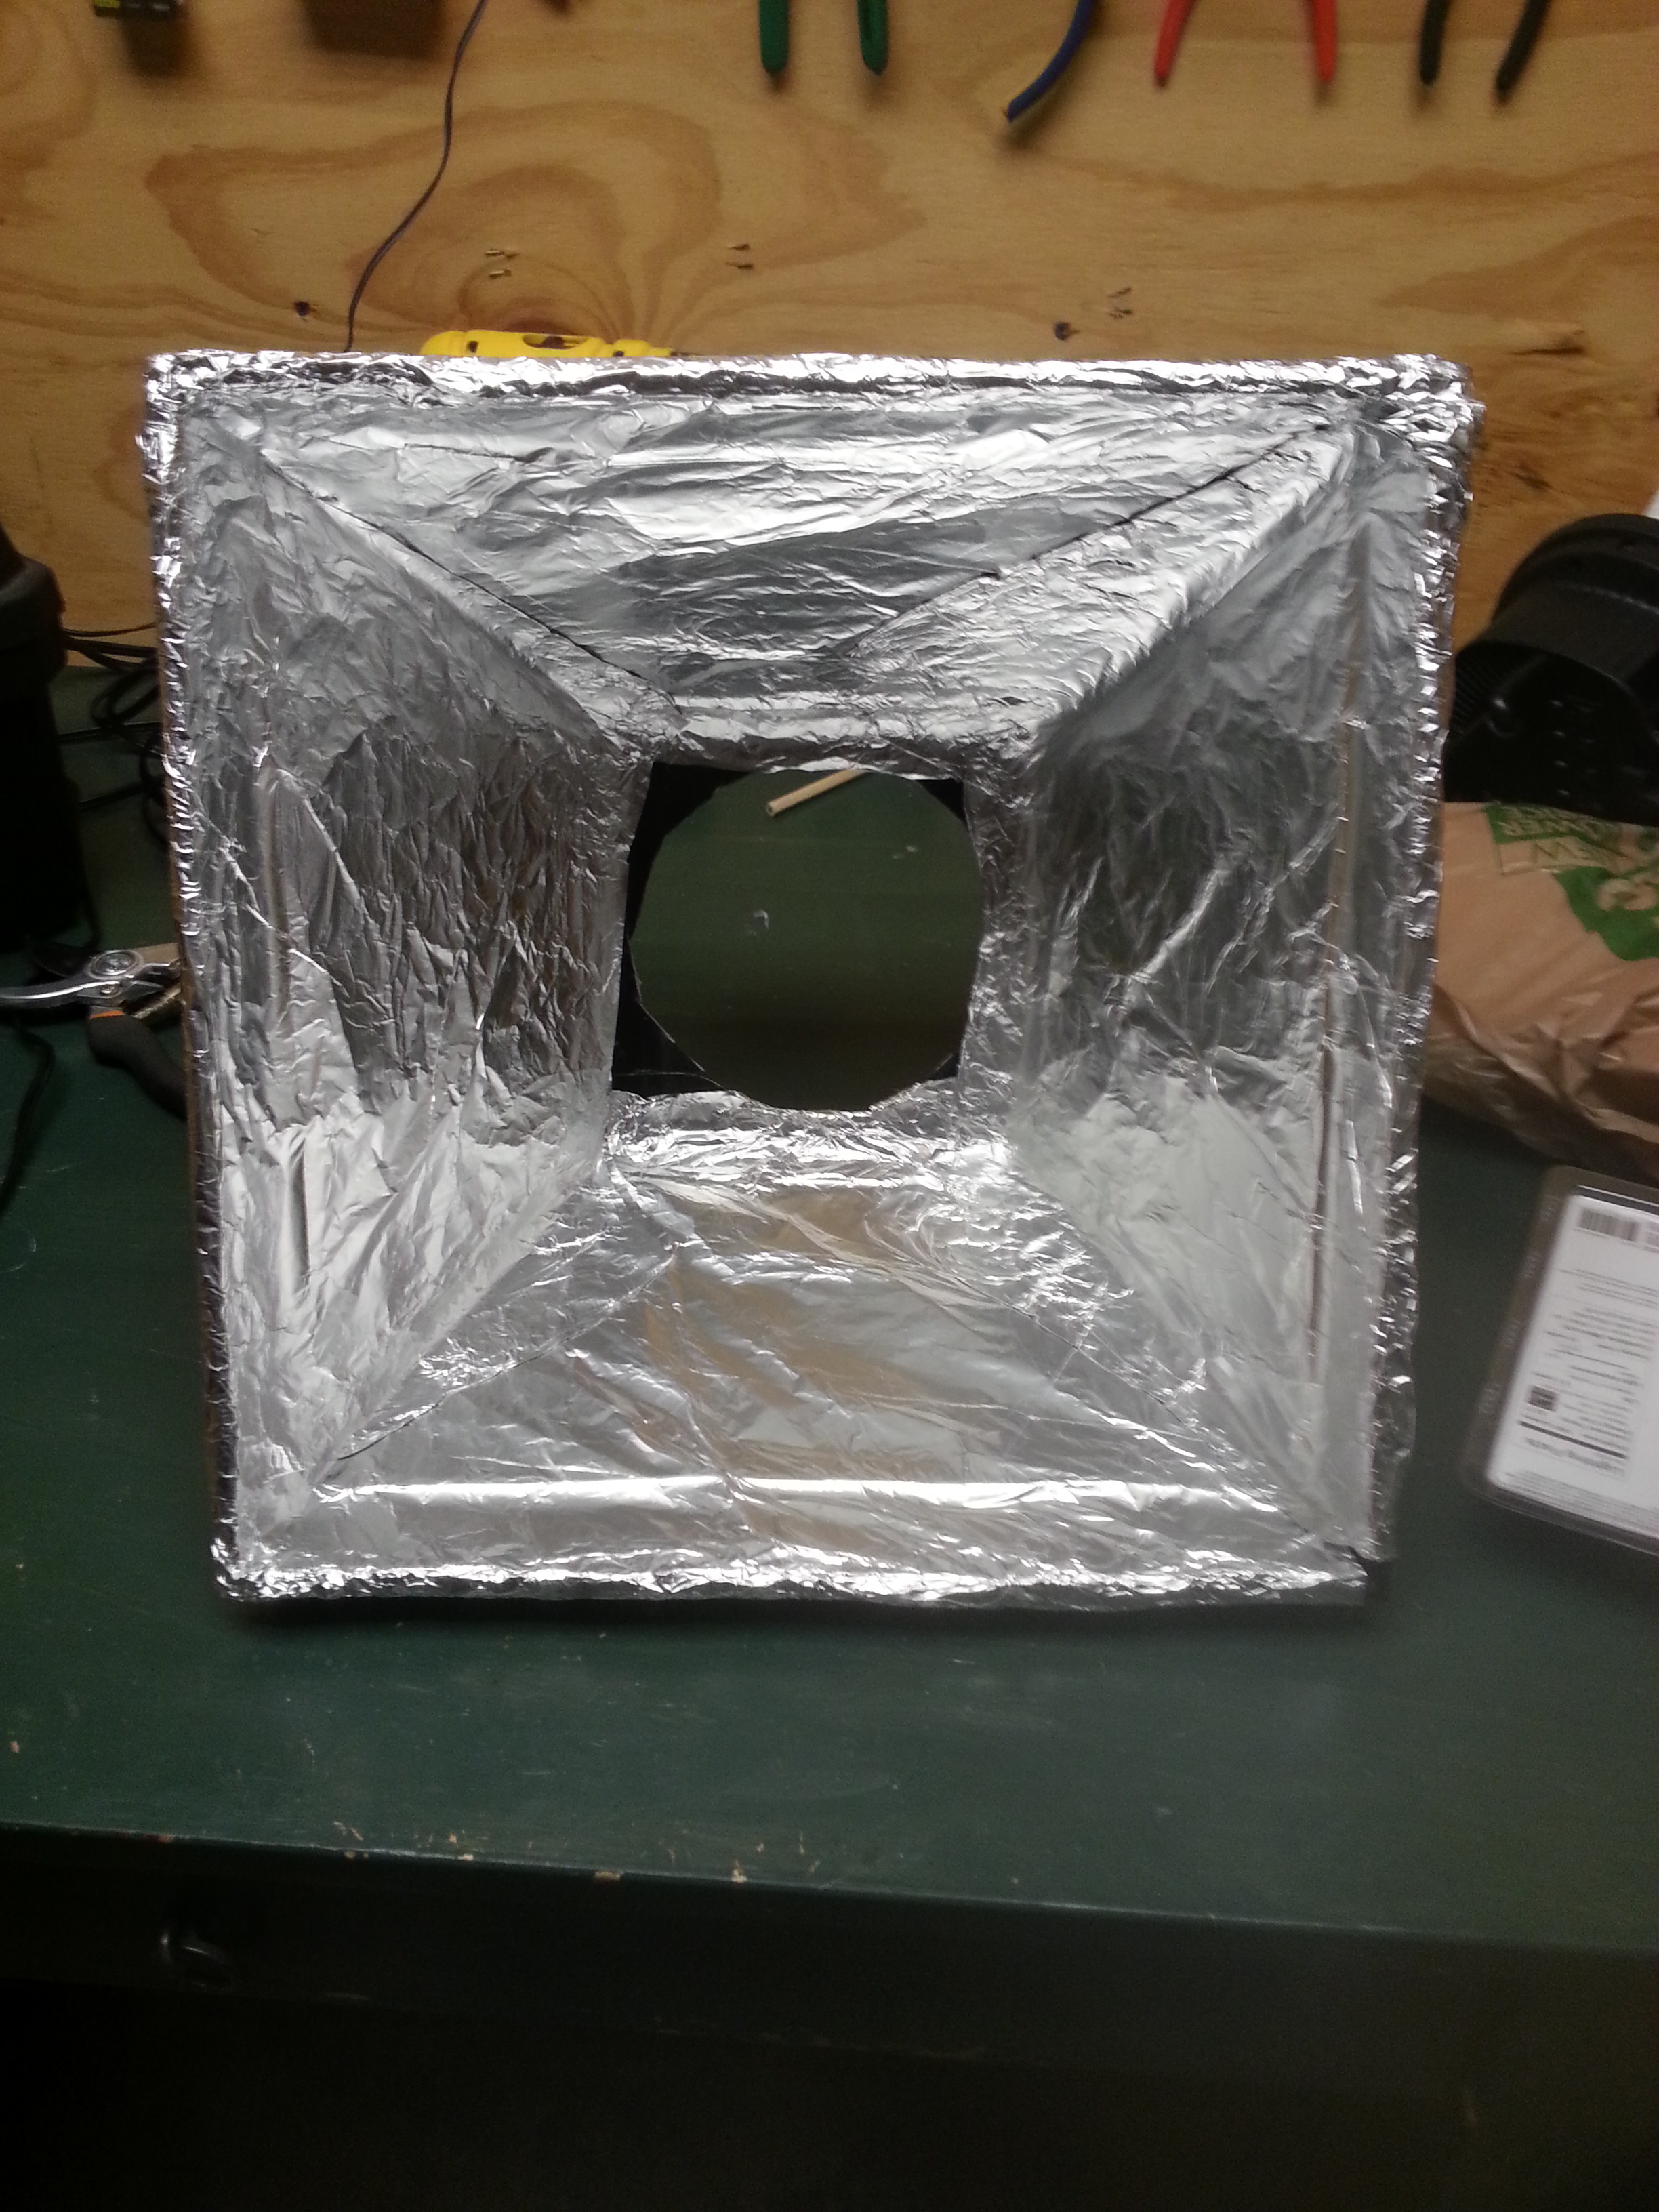
I then hot glued some aluminium fold on the inside of the pot (for reflection)

To finish it I used a piece of white fabric that i cut a bit larger than the size of the pot, I put Velcro on the fabric and the side of the pot. (hot glued and stapled on the pot and a sewed the other half on the fabric) 

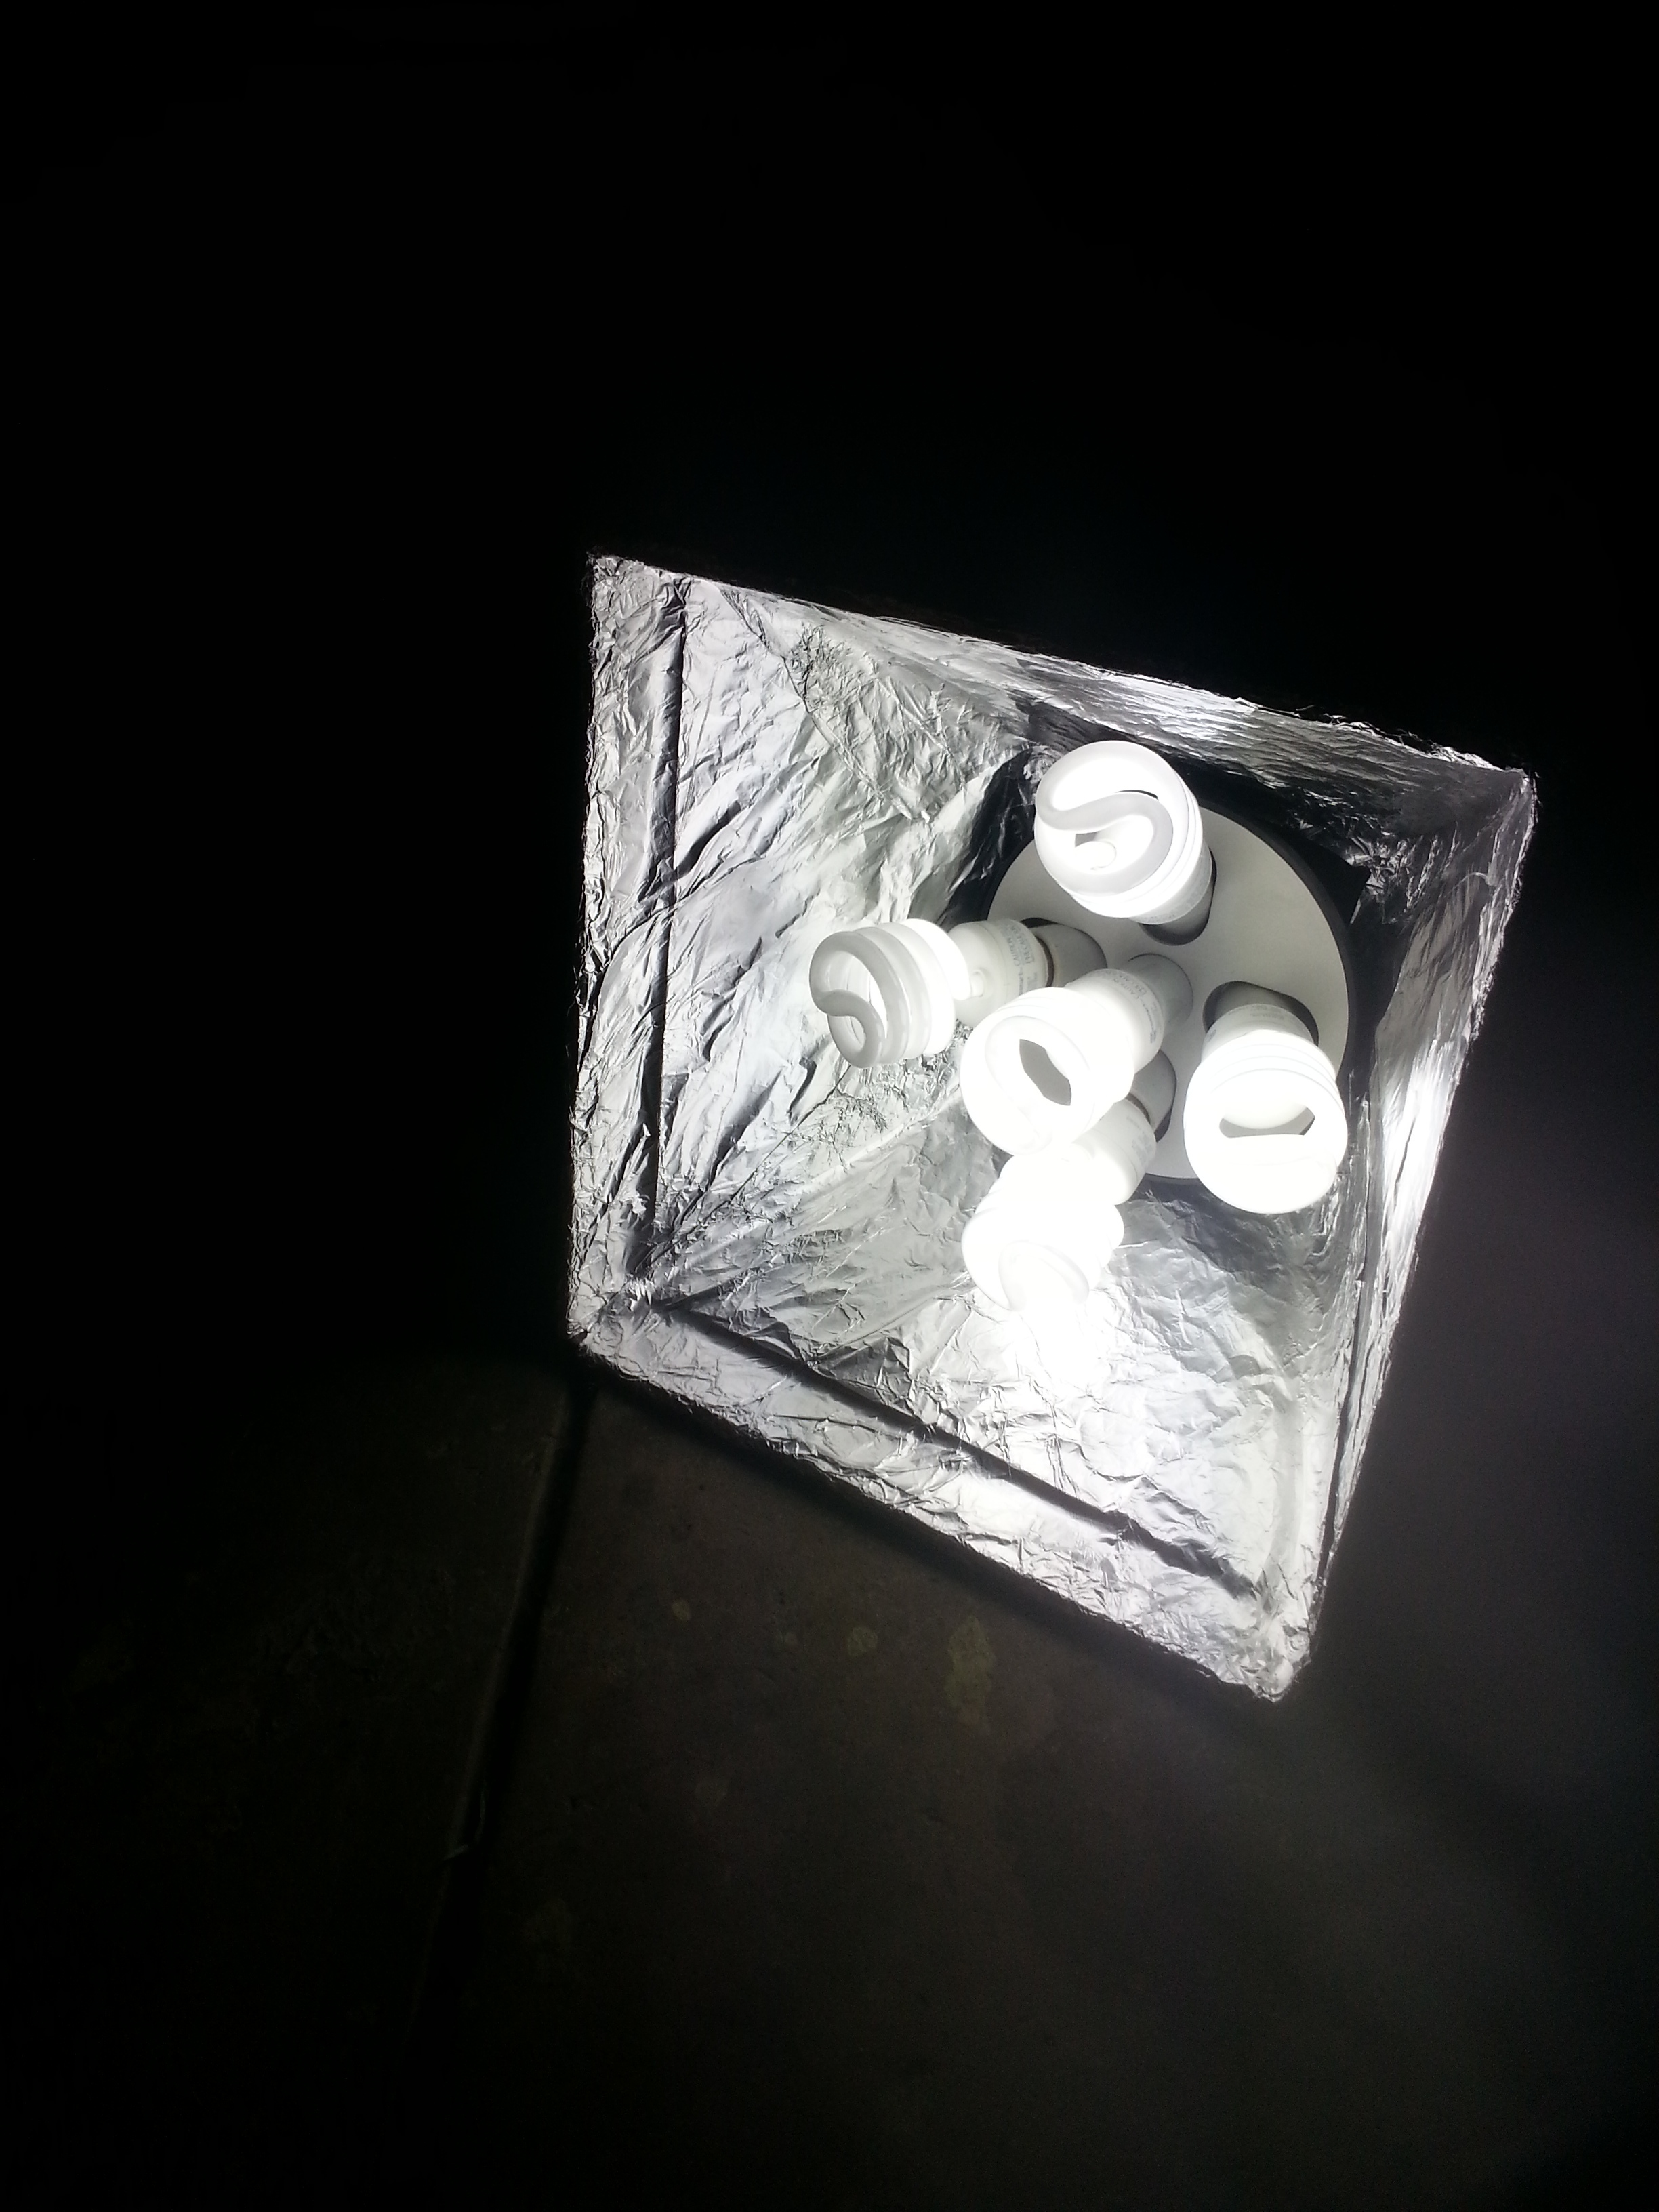
I use economical 5000K bulbs inside, it takes a bit of time to warm up but the results are pretty cool. 

20140321_202814.jpg

And there you go, the most expensive part of this tutorial was the pot that i found for $8 at home depot. I tested it on the field and the lights from it looks great.  It is a very cool portable complement to my 2 other softboxes.

Hope you enjoyed!

Jeremy


Going manual

Hello guys, 

today I wanted to share a story about the best 30$ I've ever spent on photography gear.

As you might know I have a Sony NEX-6 as my primary camera, it's a small APS-C sized mirorless camera. I might be talking chinese to some of you right now but don't worry, this just means that regular DSLRs have a mirror... my camera doesn't.. 

so what's the big deal?

Mirrorless camera have this advantage of having a short distance between the lens and the sensor, Sony's system is actually among the shortest to date.  This means that with the right adapter (usually a small ring made of metal) you can pretty much use any lens on this camera. Of course everything becomes manual (focusing and aperture control) but you can get some very interesting results with this technique.

This brings us to a couple of weeks ago, I was scouting on eBay when I found this lens: 


105793535.ptDjnRmd.x.jpg

It's a Vivitar 135mm f2.8 for the old Pentax m42 mount. 

I got it for about 30$, including shipping! Add a 10$ adapter for this lense and you got yourself a very good portrait lens for almost nothing!

and I was not disappointed, these are my first tests with it:

My dog made a perfect test subject for the glass. The image is sharp and has a good contrast, and the background is beautifully blurred I love it! 

Let me know what you think about it, and if you have good old lenses to recommend I am definitely interested! 


The gear I use

Hey guys,

today I am going to talk a bit about the various gear I use to take my pictures. In later posts I am actually going to write reviews of the different pieces of equipment you can find in my photography bag. 

456d22ceed6d08c454117b16b4f986e5_2.jpg

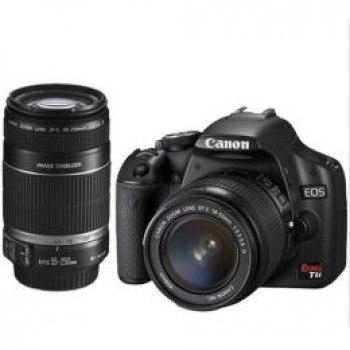
I started getting interested in photography like many people when I purchased my first DSLR. It was a Canon Rebel T1i (500d or KissX3). I bought this one in Japan along with the 18-55mm and 55-250mm kit lenses. I did not know anything about taking pictures I knew a just wanted to have more beautiful images than my compact camera could offer.

Canon 15-85mm

Canon 15-85mm

I shot with this camera for about 3 years. After a while I bought a Canon 15-85mm which was a really nice lense to have, I almost used it exclusively. I learned and failed with it and after a lot of tutorial watching/reading (thanks Scott Kelby and his gang, Trey Ratcliff and other big names in educational photography) I got to a point where I felt limited by my gear.  


Sony Nex-6 with 16-50mm lens

Sony Nex-6 with 16-50mm lens

This year I moved to the Sony NEX system and bought a Sony NEX-6. Even though I had a nice small DSLR I always found an excuse not to bring it with me because it was too big and to heavy to carry. And it was just a Rebel camera!  So when it was time to upgrade, I looked a all the options in my budget, from Nikon d600 to Canon 7d, Micro Four Thirds and NEX cameras. I even took test shots side by side with various cameras to see which ones I liked best. I finally made the decision to go with Sony and honestly I am really happy with it so far (but more on that in a review later). 


Sigma lens pack for NEX

Sigma lens pack for NEX

Since I moved from Canon to Sony it meant I had to sell all my previous equipment to get new stuff. I went with the kit lens 16-50 and quickly bought the 2 sigma 19mm and 30mm since I was doing low light photography for a Cabaret troup here in LA. I got these nifty amazing little babies for only 199$ as a pack!


Sony 18-200mm E-mount

Sony 18-200mm E-mount

My latest acquisition is the 18-200, a perfect walk around cameras whichs offers me the flexibility that i require when hiking and searching for beautiful landscapes.

0.43x and 2.2x adapters for Sony 18-200mm

0.43x and 2.2x adapters for Sony 18-200mm

Since the 18-200 is neither wide angle nor really long telephoto, I recently purchased 0.43x and a 2,2x converters, I haven't received them yet but I will be posting a review very soon. 

Stay tuned for in depth impressions of the NEX stuff!

Jeremy