An expensive photo... totally worth it!

Hi guys,

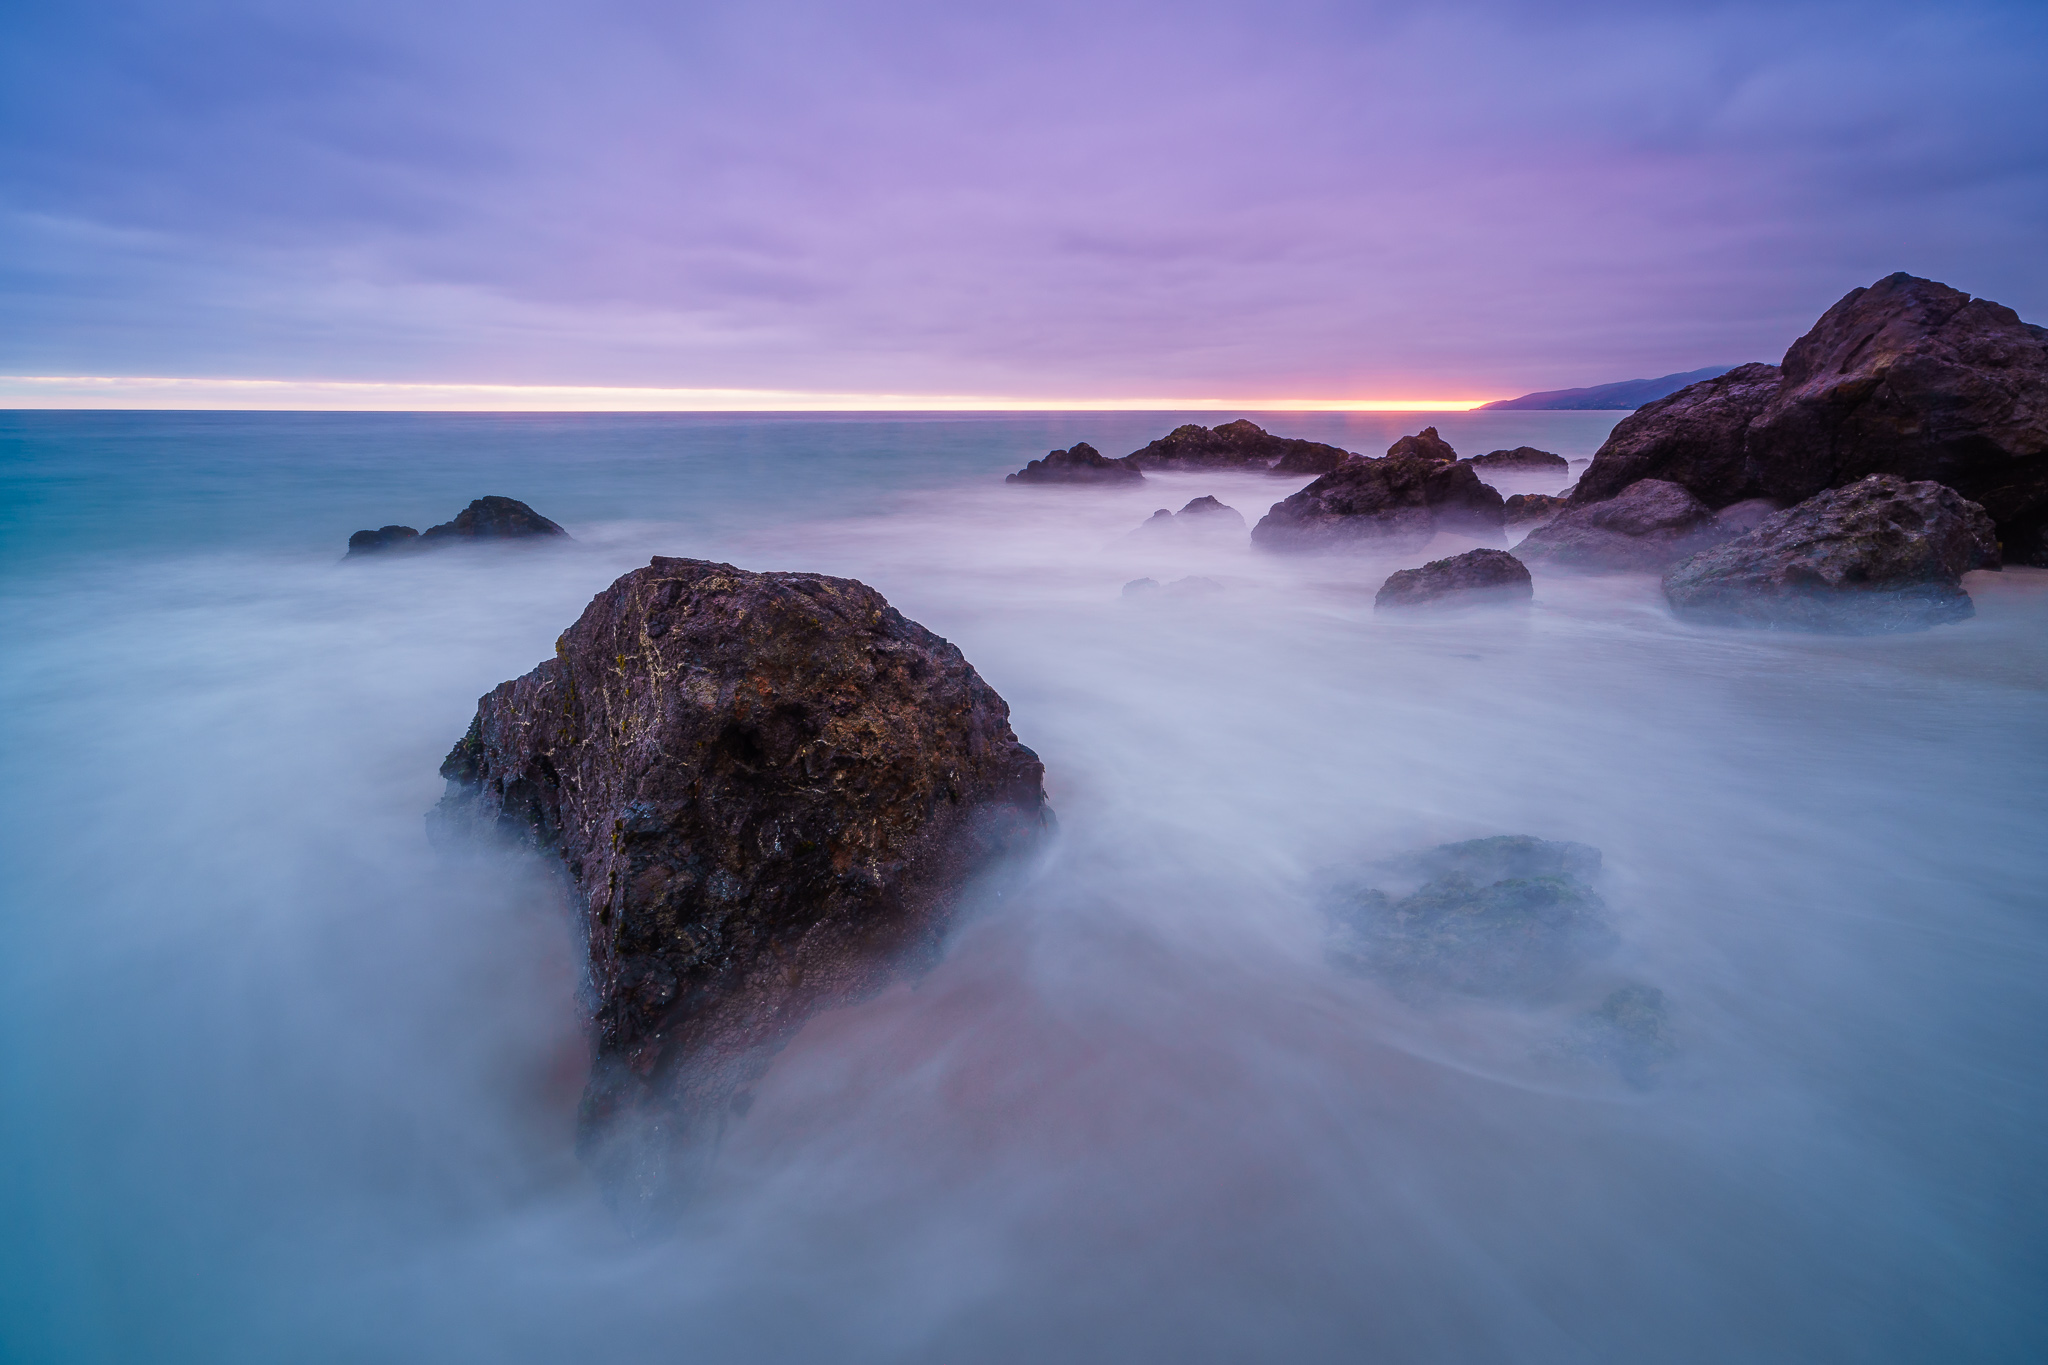
yesterday evening I decided to not let my lazy self control me. I took my motorcycle and I went to Point Dume (Malibu) to photograph the sunset. It's about 40 miles from my place, so it was quite a long ride.

In many ways I am glad i did it, I got to ride my bike in a very nice canyon which is always cool. I got to spend some time outside at the beach and I got some neat photos (despite the sunset not being amazing that day)

Only downside, I got a ticket for parking on the side of the road :(

But I think it was worth it, check this out: (click on the picture to view it big)

So I'll definitely do it again, and I'll try to park somewhere else next time

Jeremy

An awesome shoot with awesome dancers

Hey guys,

A couple of weeks back I was lucky enough to work with Toney Wilson and his crew on his latest project. It was taking place in a nice intimate theater in Venice Beach.

I got hired to shoot the entire day while another person was here shooting the video reel.

I was simply surrounded by talent and it felt great. Beautiful dancers, amazing choreographies and beautiful lights made for great shots, here are my favorites from that day.

As usual click on the pictures to see them bigger.

I am really loving shooting dancers more and more, there's just something about capturing action as it happens. No posing involved just being ready and grabbing incredible moves I could never dream of doing!

Jeremy

First trials with night sky photography

Hey there,

Hard to be back at work after a long 4th of July week, that's the least to say.

But the cool thing is hat this prolonged week end gave me time to go camping in Los Padres National Park with friends for a few days.  The great thing about this park is that the light pollution is very minimal there, so i got to see some pretty cool stars.

Here are my first tests in night sky photography. (click on them to see them bigger)


I did a bit of lightpaintig with an LED torch for the foreground, one thing i need to be better at is finding the milky way, but it's a start!

Enjoy your week

Jeremy

The best way to take care of devil pet eyes (with photoshop)

Hey guys,

I posted a picture of our little foster dog the other day when she got adopted.

I was in a rush so my wife and I took it with our smartphone and it looked like this

after doing a bit of research on how to fix these diabolic eyes, I found that most tutorials and even the red eye fixing tools simply paint the pupils black and add a catch light with a white paint brush, that would make it look like this:

pet-eye-03.jpg

I thought that it really did not look good and decided to come up with a better way to fix it.

It's actually pretty easy to do, provided you know your way around photoshop a little.

I opened my original photo in PS, then found a picture of dogs eyes on google, I used this one:

I simply searched "dog eyes" on google and found a picture that matched Marble's (that's our dogs name) eyes and furr but you can also simply take a real picture of your dogs eyes without flash to make it work.

I then opened this eyes picture as a layer on top of my original image.

I used the lasso tool to select one eye, used refine edge to add some smoothing and feathering to the selection of the eye.

Then I placed this selection on its own layer by pressing Ctrl+J. After that I positioned, rotated and streched the eye to be on top of the devil eye.

I lowered the opacity of the layer to about 80%.

The final touch to sell the effect is to add a slight blur (1px) to the layer to match the picture below it... et voila!

Now the eyes look much more realistic!

Total time 5 min. So next time you have to fix some crazy devil eyes, think about using othr pictures of nice eyes to lay on top of it.

Jeremy